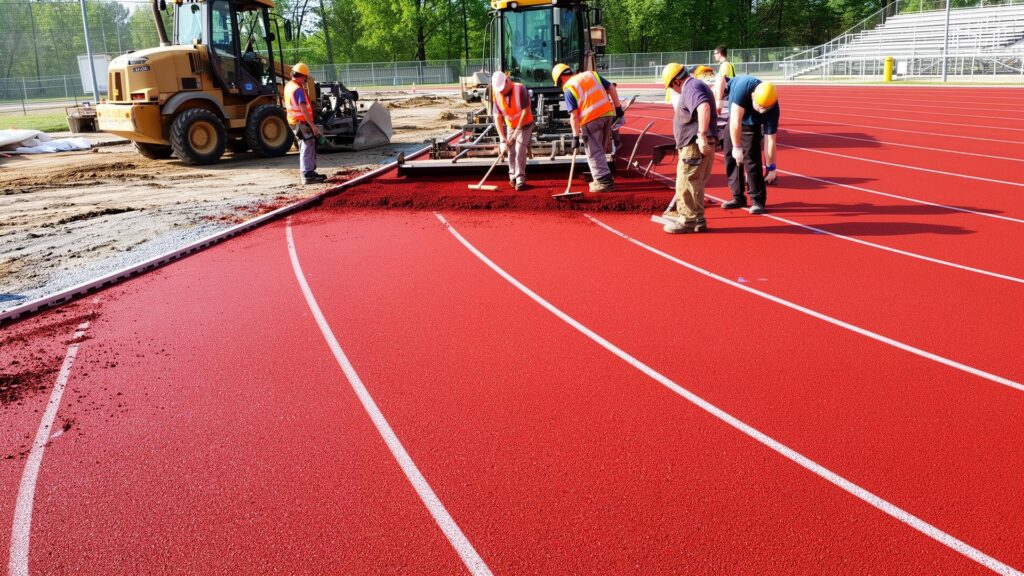
EPDM playground flooring typically utilizes a “wet pour” rubber surface system, combining an elastic cushioning base layer with a durable EPDM wearing surface. Proper installation is essential to ensure long-term performance, safety, and durability.
In this guide, we will cover the complete installation process, system structure, cost factors, and key considerations for EPDM playground flooring projects.

EPDM Playground Flooring System Overview
To fully understand a quotation, you first need to break down the system’s dual-layer structure and the core function of each material:
Dual-Layer Structure: EPDM Top Layer + SBR Base Layer
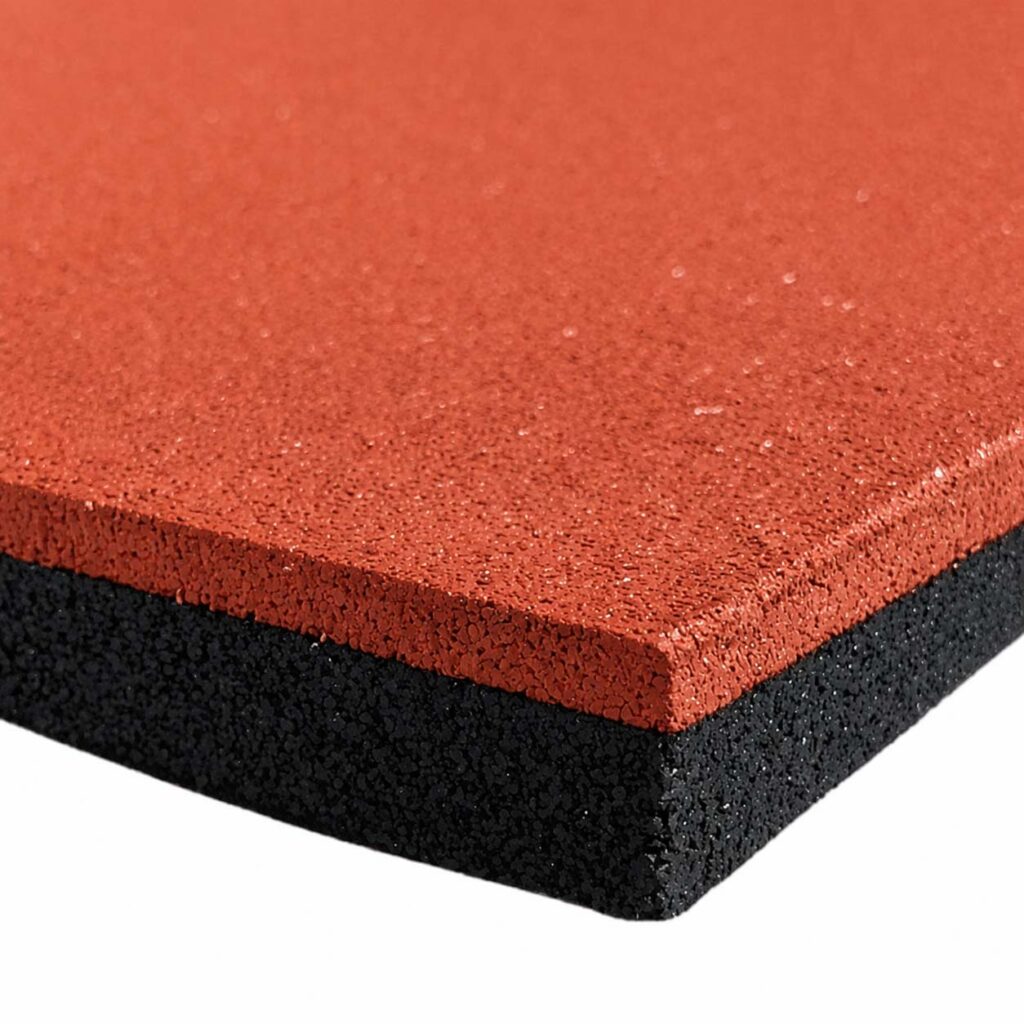
- EPDM Top Layer: The surface layer dictates the flooring’s appearance and lifespan. It offers excellent UV resistance and weatherability while supporting highly customizable color designs.
- SBR Base Layer: Usually made of recycled SBR rubber granules, this layer provides core shock absorption and impact protection. Its thickness is adjusted to meet Fall Height safety standards, serving as a highly cost-effective structural filler.
Understanding the differences between EPDM and SBR granules is essential when selecting the right materials for each layer. Learn more about their properties and applications in our guide: [EPDM vs SBR Rubber Granules: Which Material Is Better for Rubber Flooring?]
The Critical Binder: Single-Component PU Binder
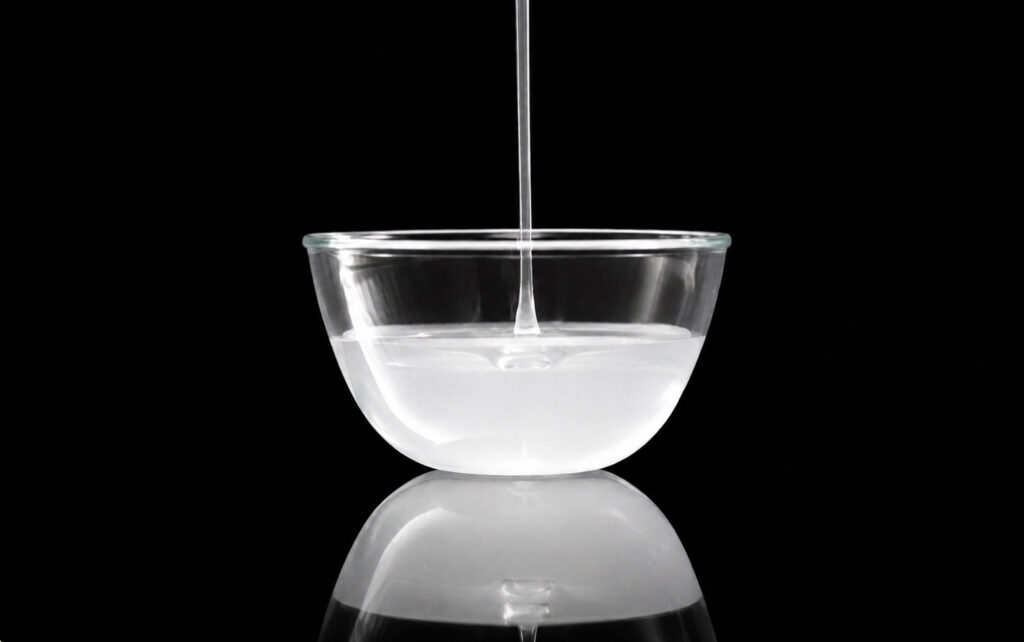
PU Binder is the backbone of the entire system. It firmly bonds the rubber granules together, maintains surface stability, and directly determines the ultimate durability of the flooring.
The PU binder is a critical component that determines how well the rubber granules bond and perform over time. Learn more about its role in rubber flooring systems: [PU Binder for Rubber Flooring: What It Is, How It Works and Why It Matters]
Pre-Installation Setup: Site Conditions & Essential Tools
Base Substrate Preparation
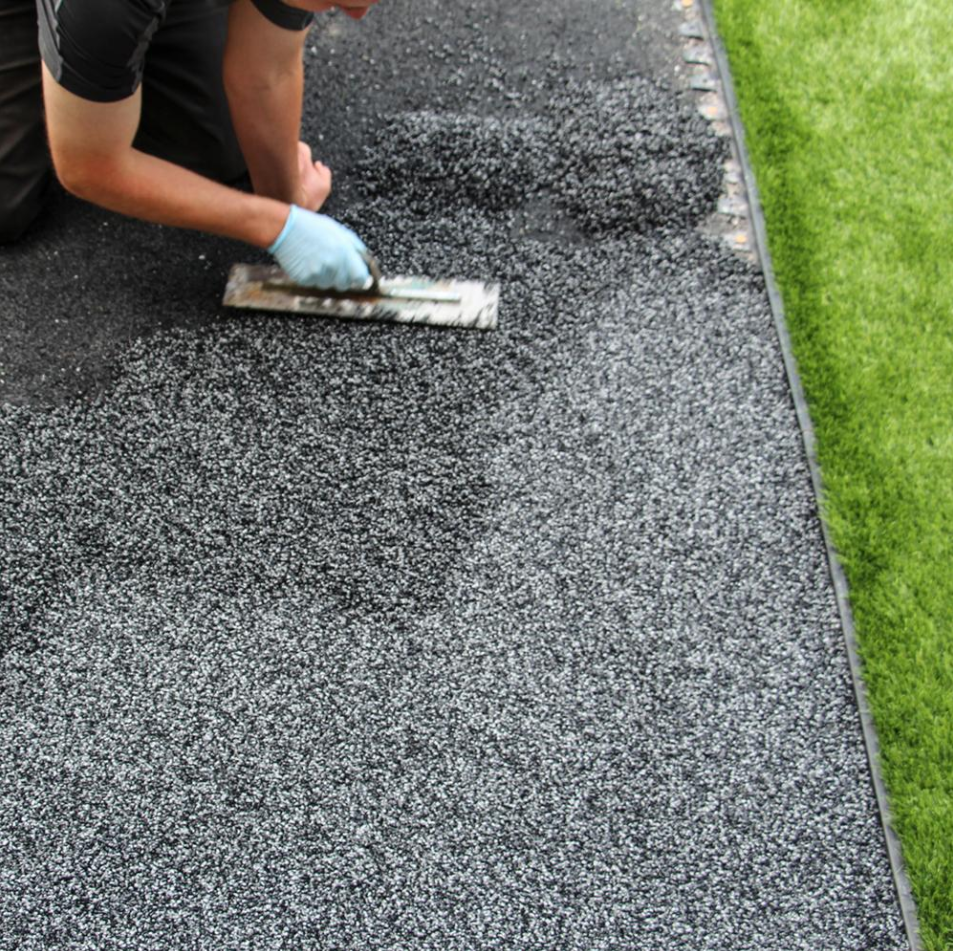
Whether the sub-base consists of concrete, asphalt, or compacted crushed stone, it should meet the following physical requirements:
- Flatness Control: Surface flatness should be checked using a 3-meter straight edge. A common requirement for wet pour rubber systems is that surface deviations should not exceed 3 mm.
- Drainage Slope: The sub-base should include a drainage slope of approximately 0.5%–1.0% (a 5–10 mm drop per meter) toward drainage channels or catch basins to prevent standing water.
- Moisture Content Limit: For concrete substrates, moisture content is commonly required to be below 5% before applying PU-based materials. Excess moisture may affect bonding performance and increase the risk of issues such as blistering, foaming, or delamination.
Safety Standards & Required Thickness (Critical Fall Height – CFH)
Total flooring thickness is not arbitrary; it must strictly adhere to international safety standards (such as EN 1177 or ASTM F1292) regarding the Critical Fall Height (CFH) of the play equipment:
| Equipment Critical Fall Height (CFH) | Recommended Total Thickness | Standard Build-Up Ratio (EPDM Wear Layer + SBR Cushion Layer) |
|---|---|---|
| ≤ 1.0 m | 30 mm | 10 mm EPDM + 20 mm SBR |
| 1.1 m – 1.5 m | 40 mm – 50 mm | 10 mm EPDM + 30–40 mm SBR |
| 1.6 m – 2.0 m | 60 mm – 70 mm | 10–15 mm EPDM + 45–55 mm SBR |
| 2.1 m – 3.0 m+ | 90 mm – 110 mm+ | 15 mm EPDM + 75–95 mm+ SBR |
(Note: The standard thickness for the colored EPDM top wear layer is typically 10–15 mm. The primary shock absorption and fall attenuation are provided by the underlying SBR base layer.)
Weather & Climate Restrictions
Single-component PU binders cure through a moisture-triggered cross-linking process. To achieve consistent bonding performance and avoid installation defects, the following environmental conditions should be considered:
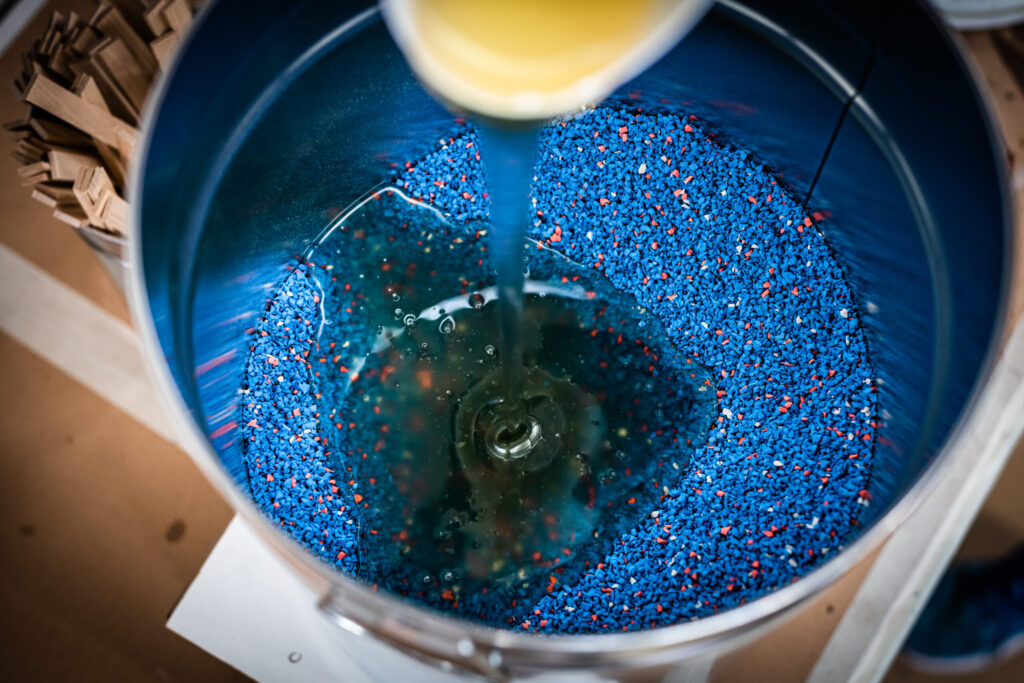
- Optimal Working Temperature: The recommended installation temperature is typically 15°C–30°C. When ambient temperatures drop below 10°C, curing speed can be significantly reduced. Installation is generally not recommended below 5°C, as low temperatures may prevent the binder from curing properly.
- Relative Humidity (RH): A relative humidity range of approximately 40%–80% is commonly preferred for PU binder application.
- Very low humidity conditions may slow the curing process due to insufficient moisture.
- Excessively high humidity can accelerate the reaction between PU binder and moisture, potentially causing issues such as bubbling, foaming, or reduced surface quality.
- Precipitation Protection: The substrate should remain dry before installation. After installation, the newly laid surface should be protected from rain and excessive moisture for approximately 24–48 hours, depending on temperature, humidity, and the binder manufacturer’s curing requirements.
Essential On-Site Installation Tools & Equipment
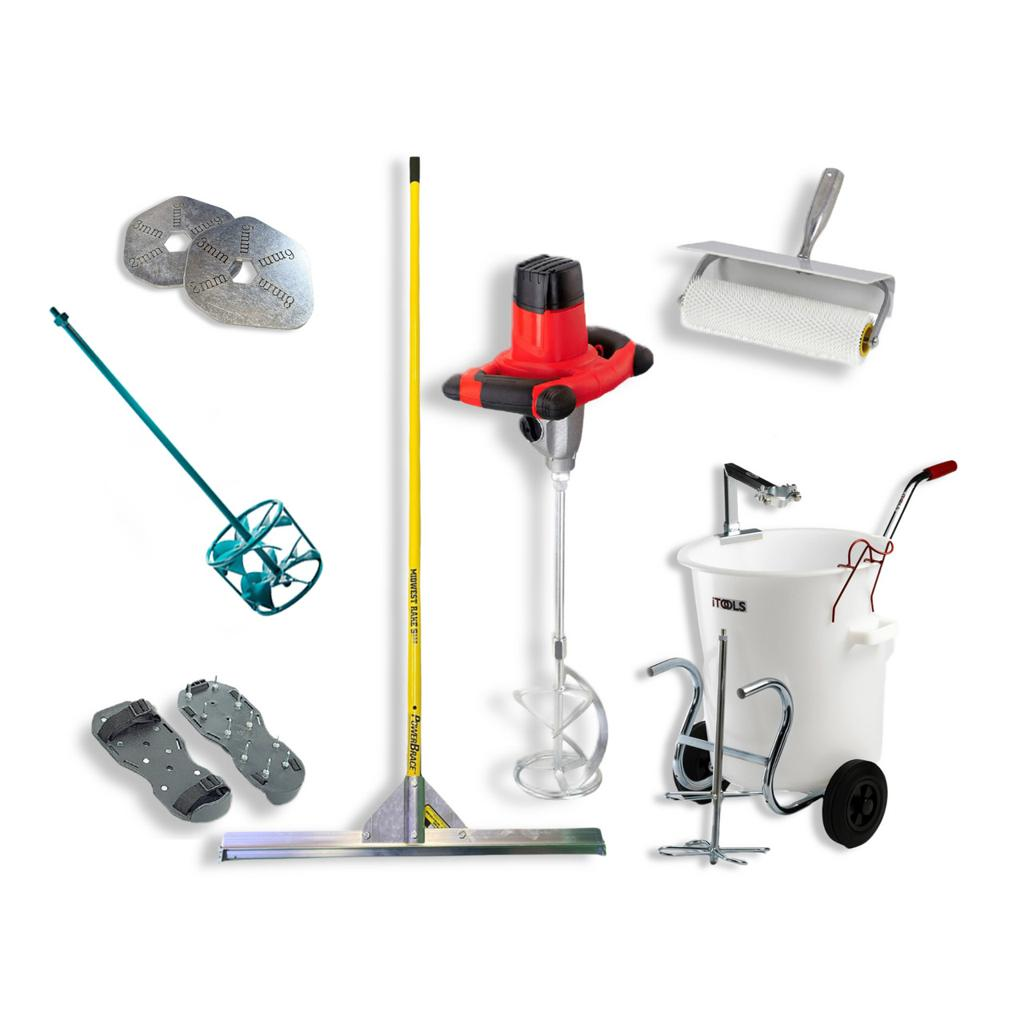
Key installation tools include a forced-action pan mixer, precision digital scale, screed bars, heavy compaction rollers, steel trowels with lubricant, and perimeter grooving tools for edge anchoring.
Step-by-Step Installation Process
Step 1: Surface Priming & Edge Preparation
Thoroughly clean the base substrate and apply a layer of PU primer using a roller. This significantly enhances adhesion between the base layer and the substrate, ensuring edges remain flush and secure.
Step 2: Mixing & Laying the SBR Cushion Layer
Mix SBR granules and PU binder at a specific ratio, then evenly spread and compact the mixture to the required thickness. The SBR layer is crucial for absorbing impact; laying pure EPDM for the entire depth is not only cost-prohibitive but also lacks sufficient structural elasticity.
Step 3: Mixing & Applying the EPDM Wear Layer
This step requires the highest level of craftsmanship. EPDM granules and binder must be mixed at precise ratios to avoid “dry spots” where granules lack binder coverage. Address seams carefully during paving, use a trowel or heated roller for a fine finish, and strictly control surface flatness.
Step 4: Curing Time & Quality Inspection
Allow adequate curing time (typically 24–48 hours), followed by a surface flatness check, seamless adhesion testing, and total thickness verification.
For a complete overview of the EPDM rubber surfacing system structure, installation requirements, and process guidelines, download our EPDM Rubber Surfacing System Installation Guide .
Cost Breakdown
Understanding these factors will help you determine if supplier material quotes and contractor bids are reasonable:
- Material Cost: Influenced by EPDM quality/purity, custom colors, granule size, and the designed system thickness.
- Installation Cost: Affected by substrate preparation scope, labor rates, project scale, and the complexity of surface patterns or logos.
- Maintenance Considerations: Investing in a high-quality system upfront significantly reduces future repair costs associated with cracking or granule loss.
4 Critical Installation Mistakes
- Incorrect Material Ratios: Too little binder leads to surface granule loss; too much makes the floor hard, stripping away its elasticity.
- Improper Substrate Preparation: Installing on high-humidity or uneven substrates causes bubbling, delamination, and cracking.
- Wrong Thickness Selection: Reducing thickness to save money results in failing to provide compliant fall impact protection.
- Poor Weather Management: Forcing installation in rain or low temperatures causes the binder to whiten and fail to cross-link and cure properly.
Planning a Successful EPDM Playground Flooring Project
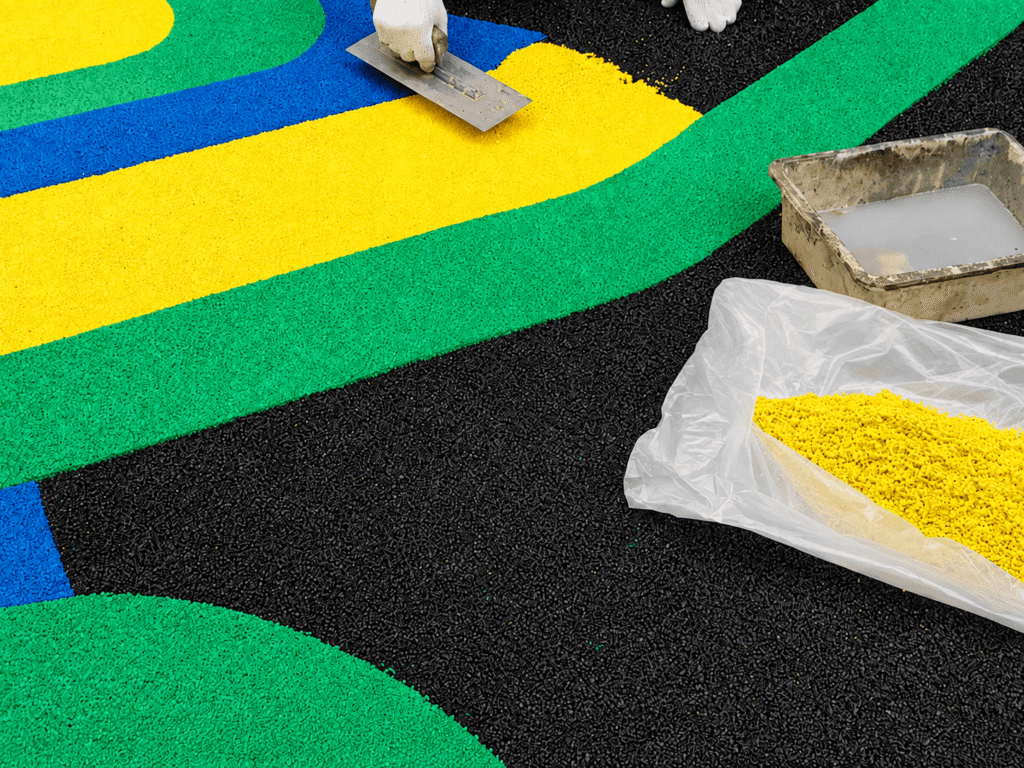
A successful EPDM playground flooring installation depends on more than the installation process itself. Proper material selection, suitable system design, and reliable technical support all play an important role in achieving long-term performance. Before starting a project, consider key factors such as EPDM granule quality, system thickness, color requirements, UV resistance, and relevant technical documentation.
Choosing a reliable supplier is also essential to ensure consistent material quality and project support. Learn more about the key factors to evaluate suppliers in our guide: [How to Choose a Reliable EPDM Granules Supplier?]
From material selection to system configuration, our team can help you choose the right EPDM granules and surfacing solution for your project. Contact us to discuss your requirements and receive technical recommendations.
FAQ
It depends entirely on the play equipment’s fall height, typically ranging from 40mm to 100mm.
Depending on temperature and humidity, it generally takes 24 to 48 hours before the surface is safe to use.
Yes, but the surface must be thoroughly cleaned, primed, and feature an adequate drainage slope.