Creating Better Surfaces, Building Better Spaces.
Rubber Tile & Mat System for Modular Resilient Flooring
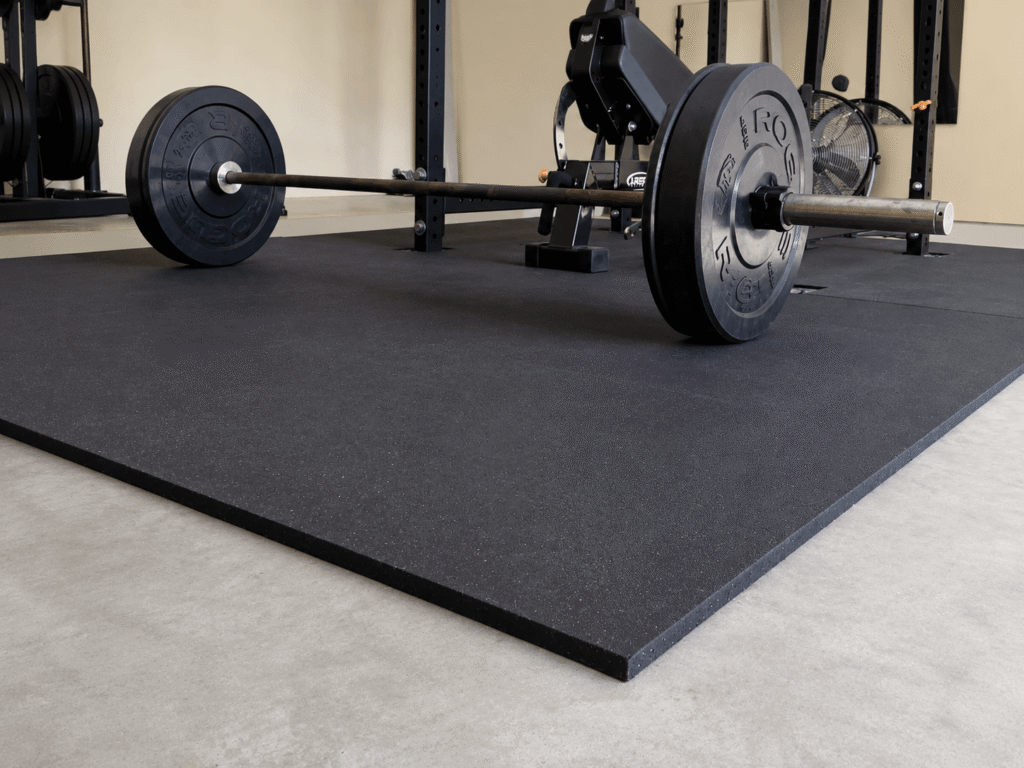
Rubflo rubber tile & Mat flooring systems combine prefabricated rubber tiles or mats with project-specific installation methods, subfloor preparation and perimeter finishing to create durable, modular surfaces for fitness, safety and recreational spaces.
Typical Rubber Tile & Mat Flooring Systems
A rubber tile and mat flooring system typically consists of prefabricated rubber tiles or mats, a suitable fixing method, a prepared subfloor, and optional edge or transition components. The exact installation method depends on the product type, site conditions, and project requirements.
Rubber Tile / Mat
Prefabricated rubber flooring available in different formats, thicknesses and surface finishes.
Fixing Interface
The connection between flooring and substrate is selected according to product format and project conditions.
Prepared Subfloor
A stable, level and suitable substrate provides the foundation for the finished flooring system.
Edge & Transition Detail
Perimeter edges and transitions can be finished where required to create a neat connection with adjacent surfaces.
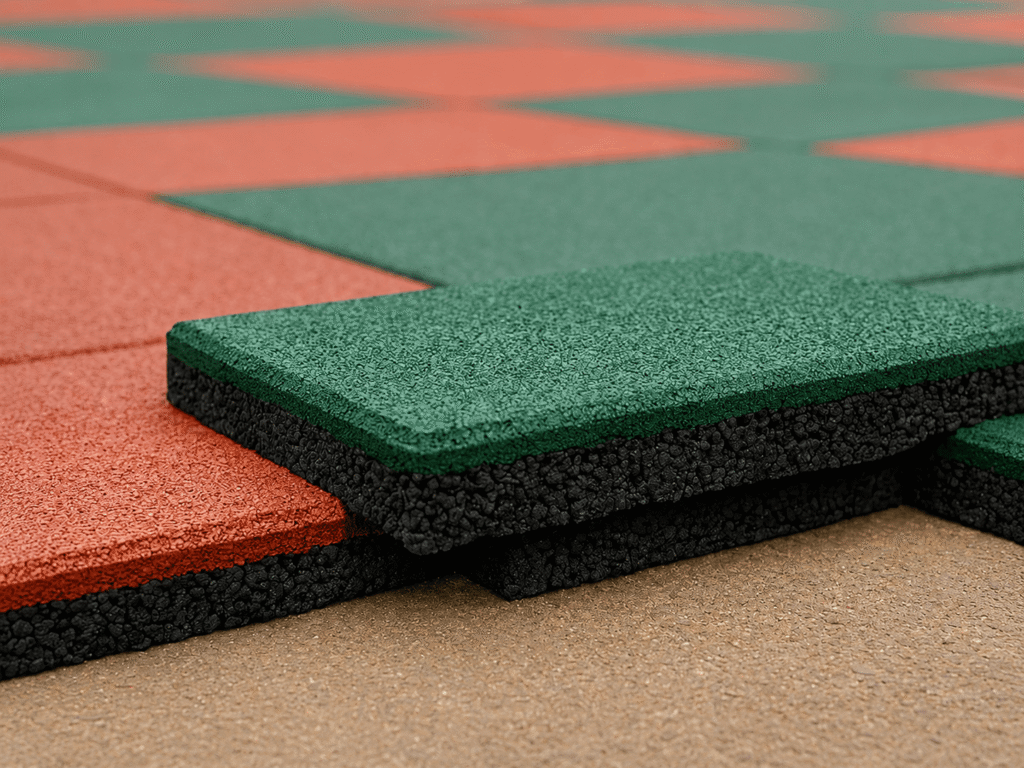
Choose the Right Rubber Flooring Format
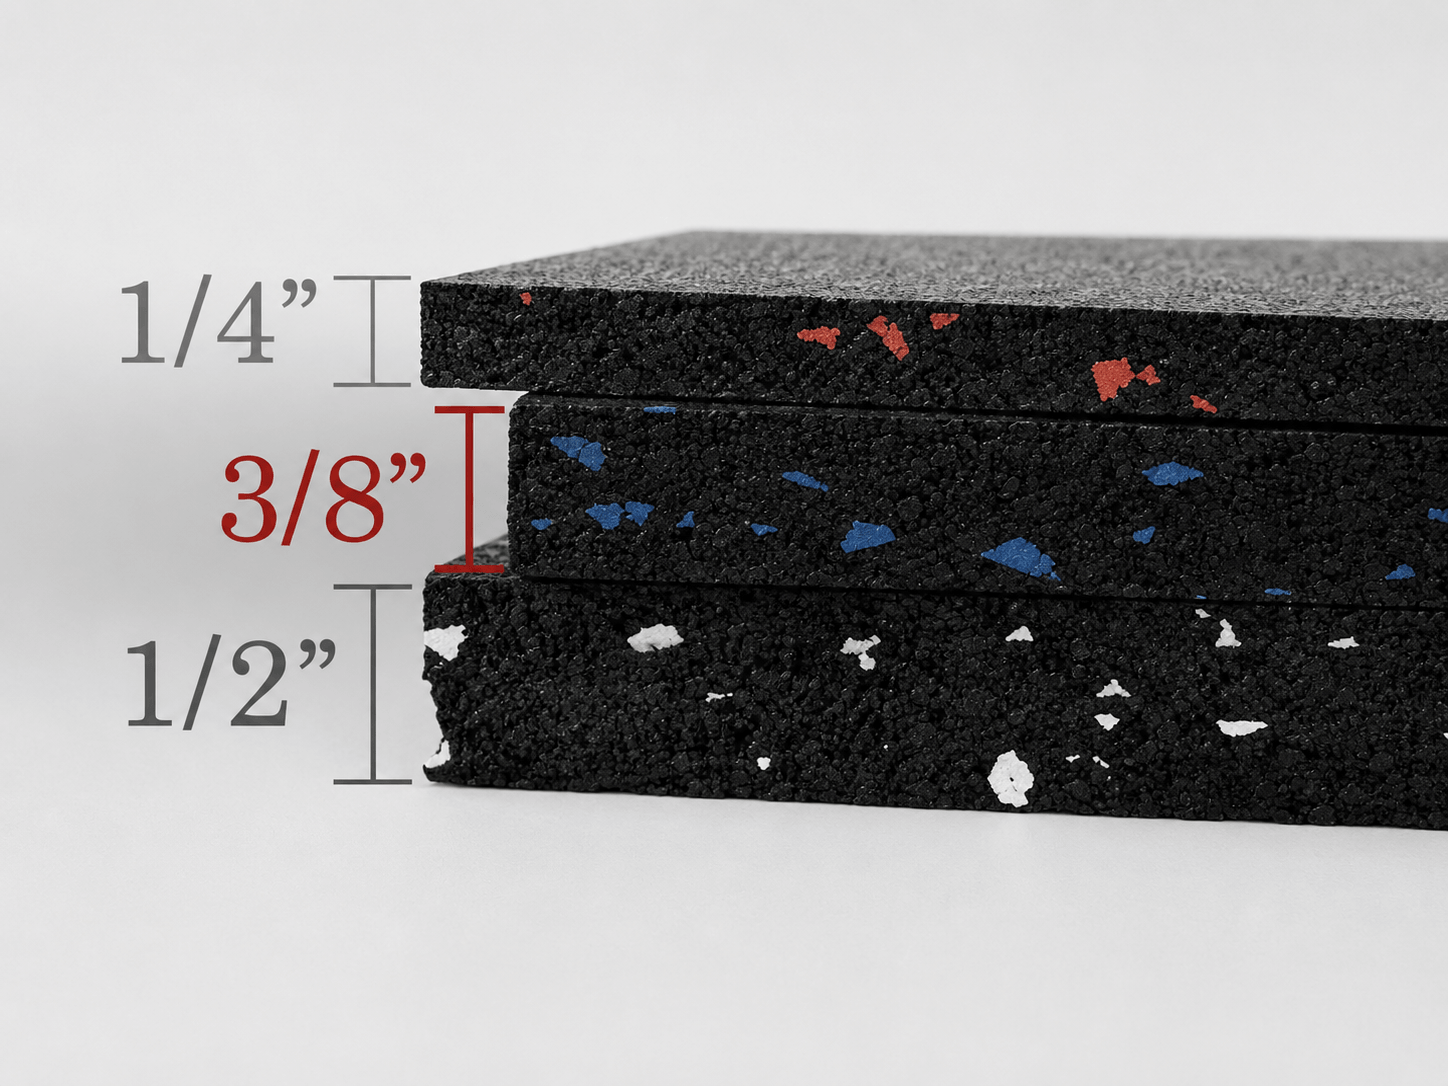
Rubber tiles and mats serve different roles within a flooring system. The right format depends on the required coverage, installation method, load conditions, and how the floor will be maintained or replaced over time.
Rubber Tiles
Review Rubber Tiles & Mats for Your Project
Evaluate Rubflo rubber tiles and mats by color, surface finish, thickness and product format to confirm suitability for your project requirements. Free samples are available to support material review and project selection with greater confidence.
Plan the EPDM Flooring System Before Installation
Before installation begins, confirm the substrate condition, system build-up, layer thicknesses, drainage and finished levels, material quantities, and color or layout requirements. Early planning helps align the materials, site conditions and installation details before work starts.
Flatness
Confirm that the subfloor is sufficiently level and free from significant uneven areas that could affect the finished flooring.
Strength & Stability
Check that the substrate is firm, structurally sound and free from loose, weak or unstable areas.
Moisture Condition
Assess moisture conditions, particularly for concrete substrates, before adhesive or other fixing methods are selected.
Surface Cleanliness
Remove dust, oil, dirt, old adhesive residues and other contaminants that could affect installation or bonding.
Cracks & Repairs
Identify and repair cracks, damaged areas and localized surface irregularities before flooring installation begins.
Three Ways to Install a Rubber Tile System
Rubber tiles and mats can be installed using connector-assisted, loose-lay or full glue-down methods. The right approach depends on the flooring format, subfloor conditions, expected use and whether the installation needs to be permanent or easier to replace.
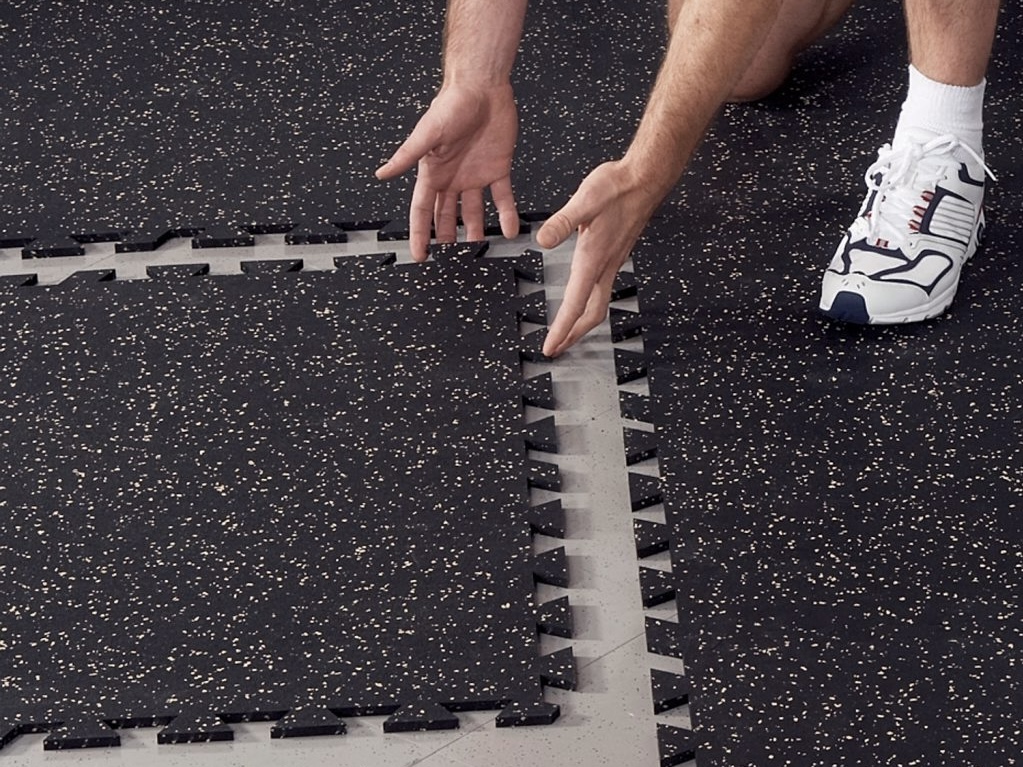
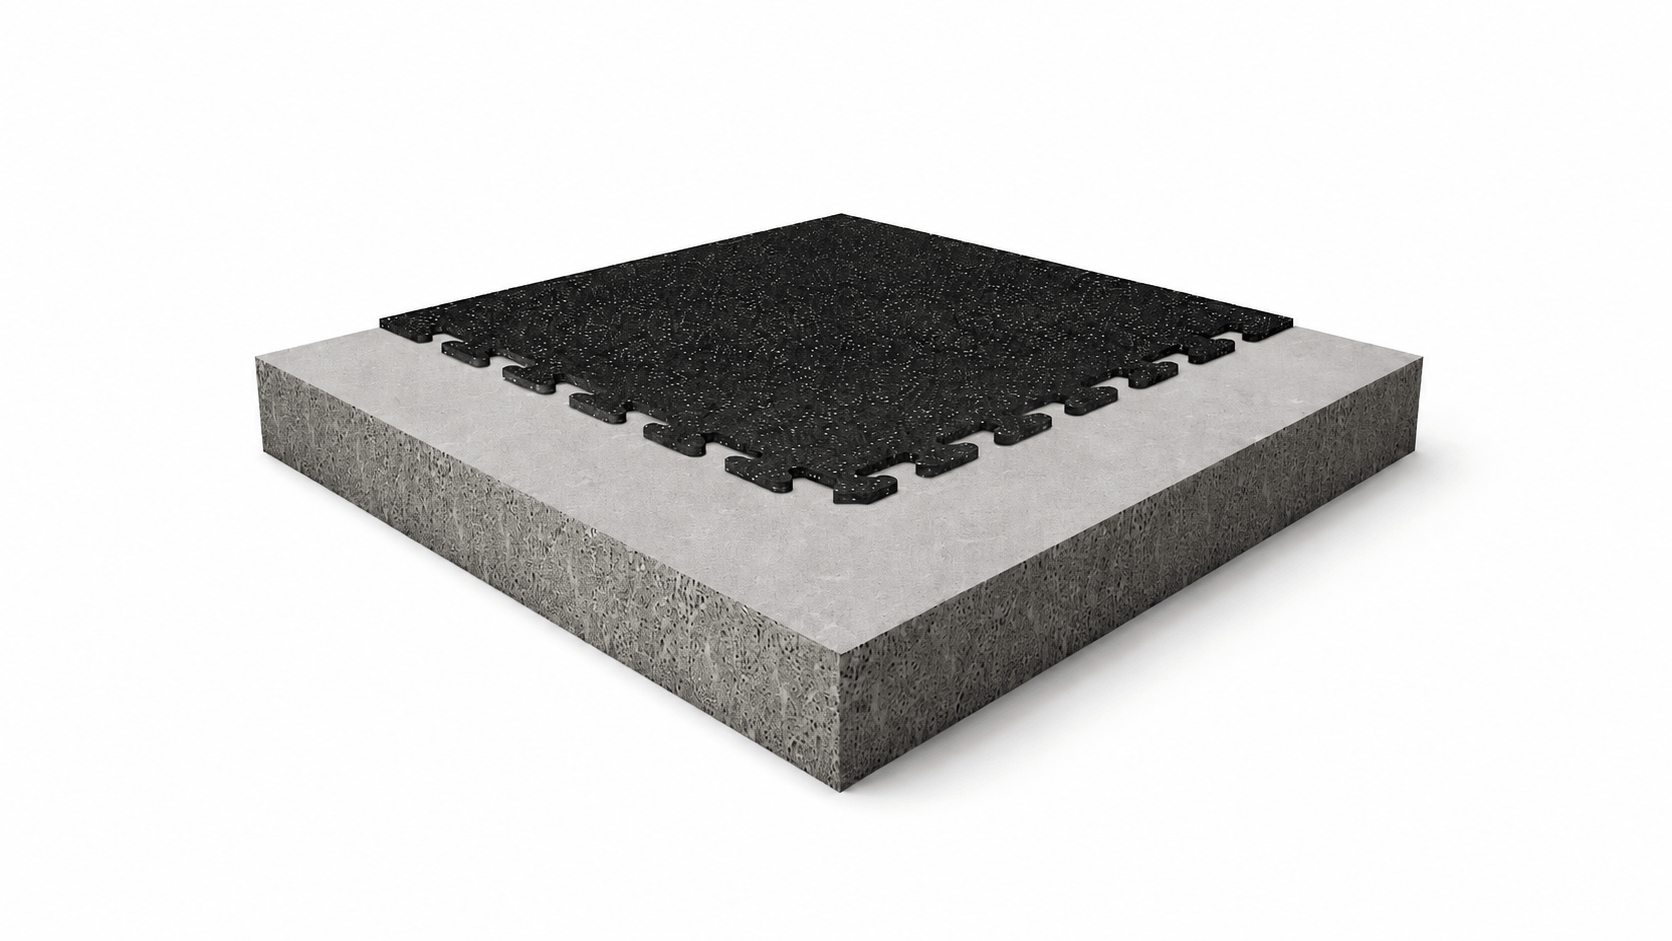
Interlocking / Connector Installation
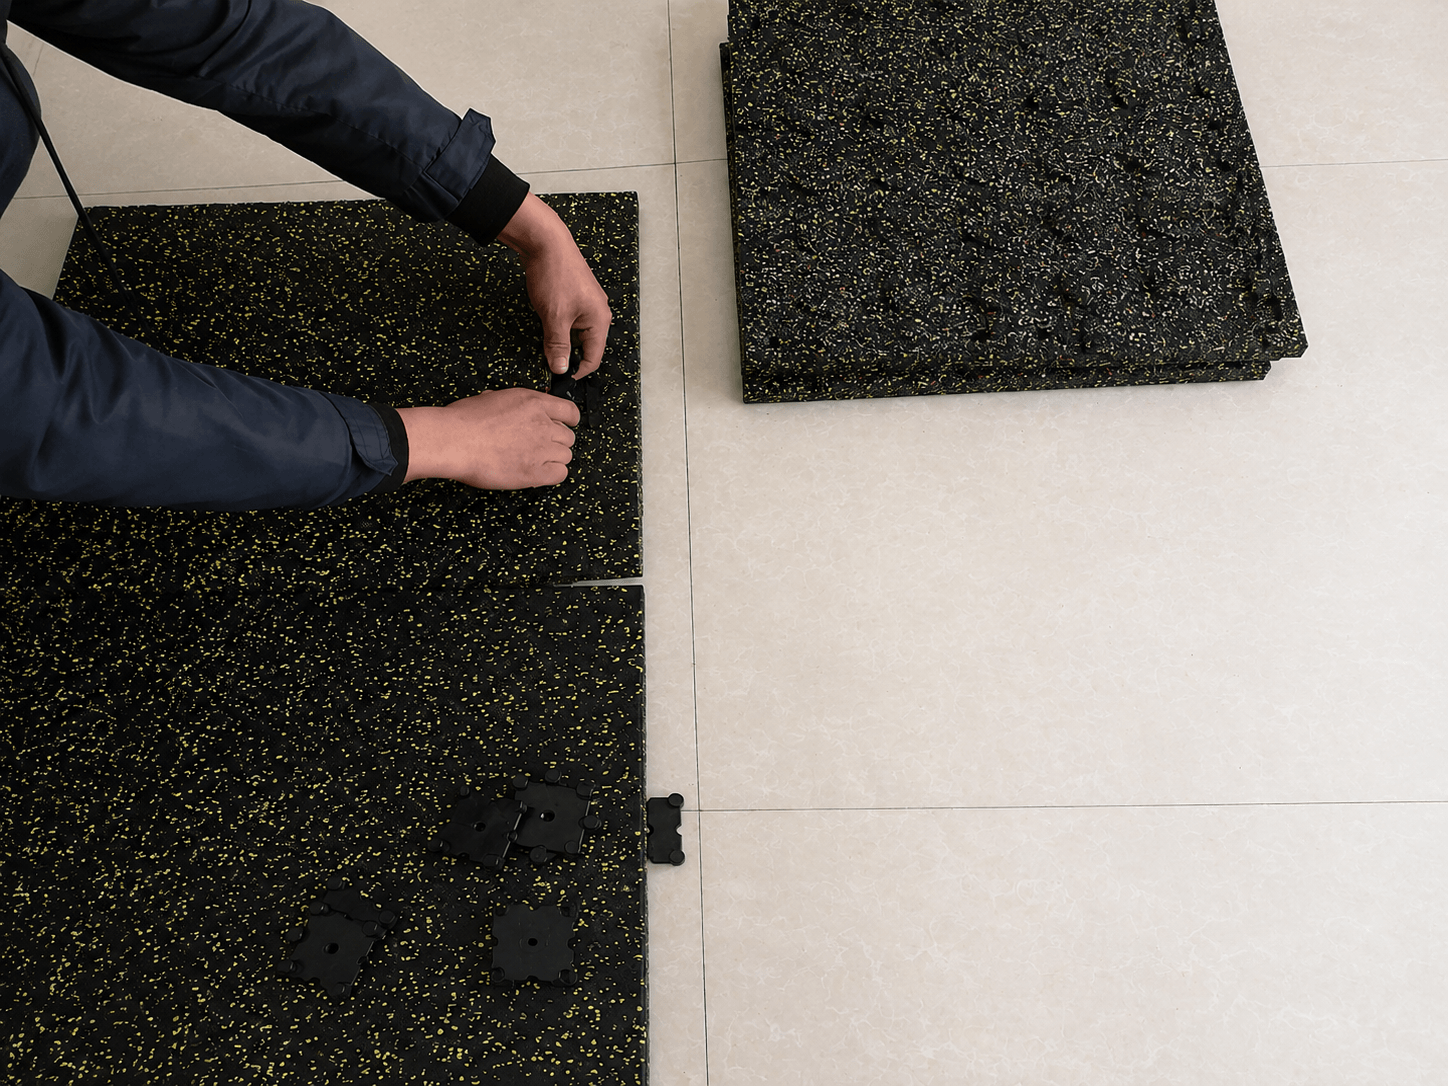
Tiles are secured through interlocking edges or connector systems, creating a stable modular surface without full-surface bonding and allowing individual tiles to be replaced when needed.
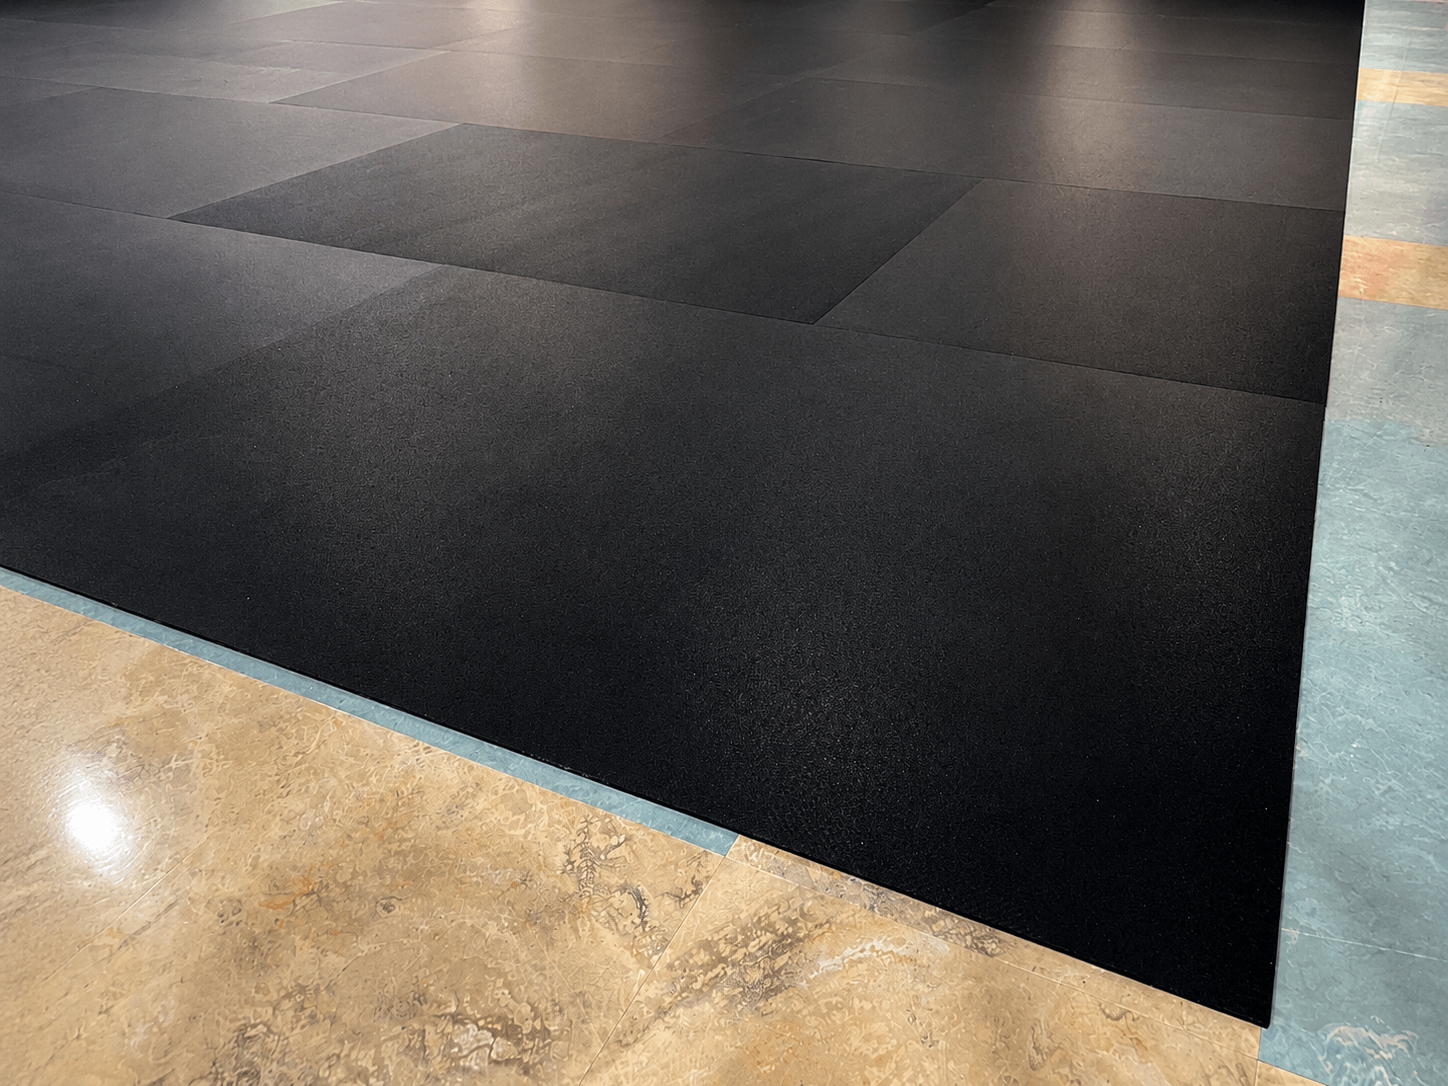
Loose-Lay Installation
Heavy rubber tiles or mats are laid directly over the prepared subfloor and held in place by weight, friction and perimeter restraint where required, allowing easier removal or repositioning.
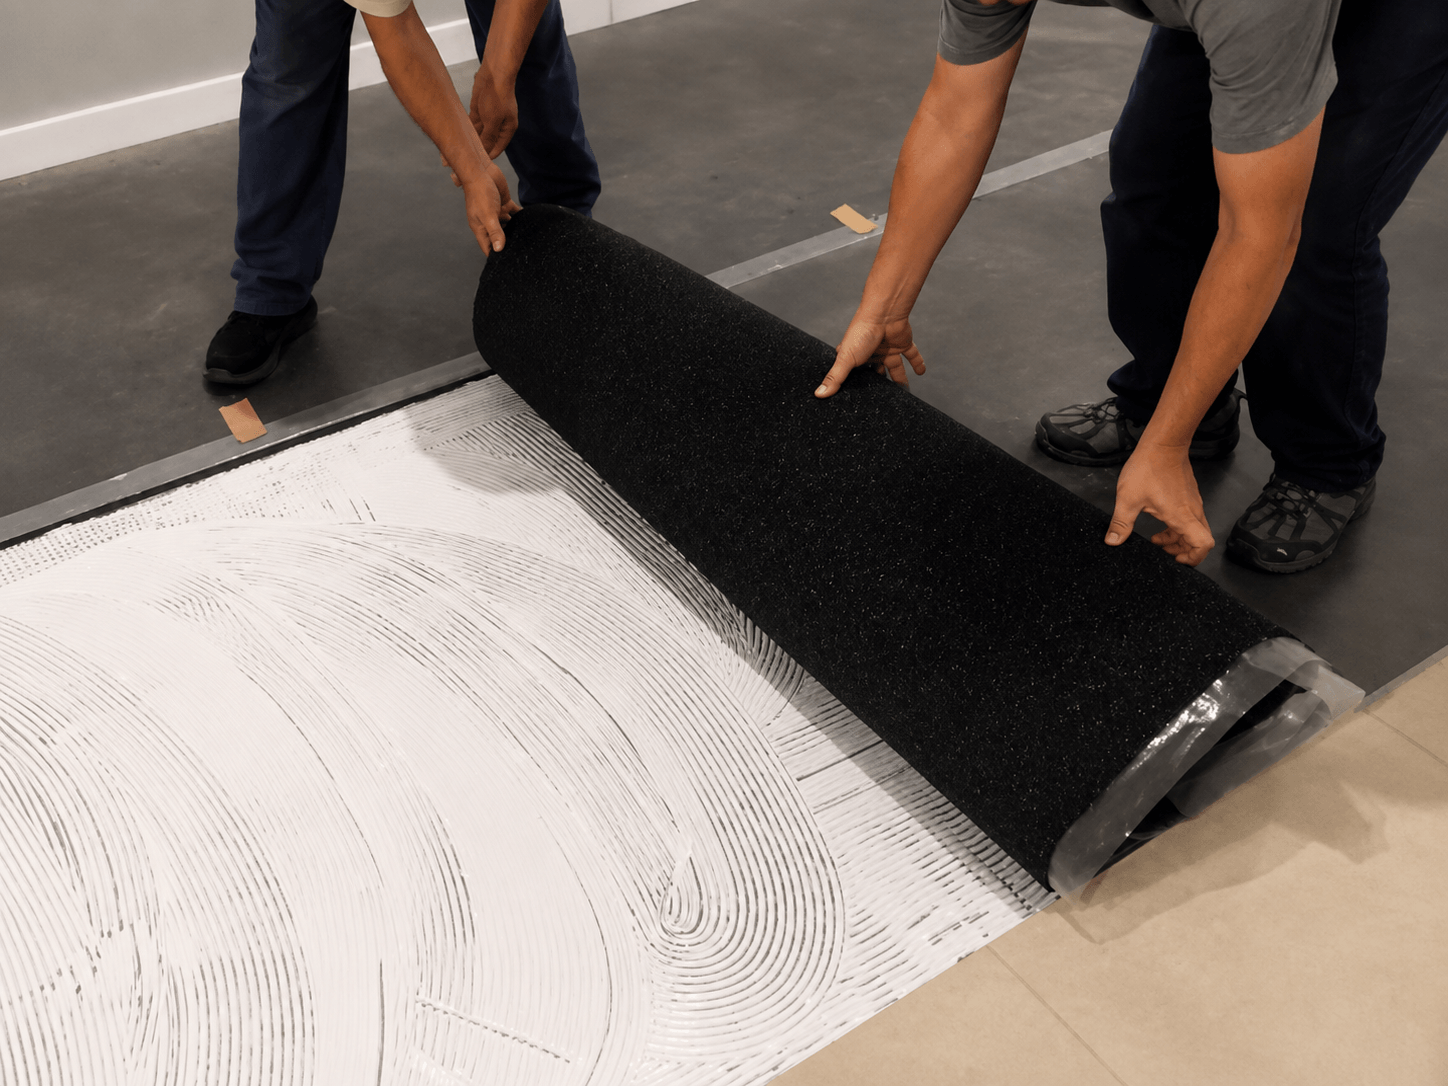
Full Glue-Down Installation
Rubber flooring is fully bonded to the prepared substrate with a compatible adhesive, providing stronger fixation and dimensional stability for permanent or high-traffic installations.
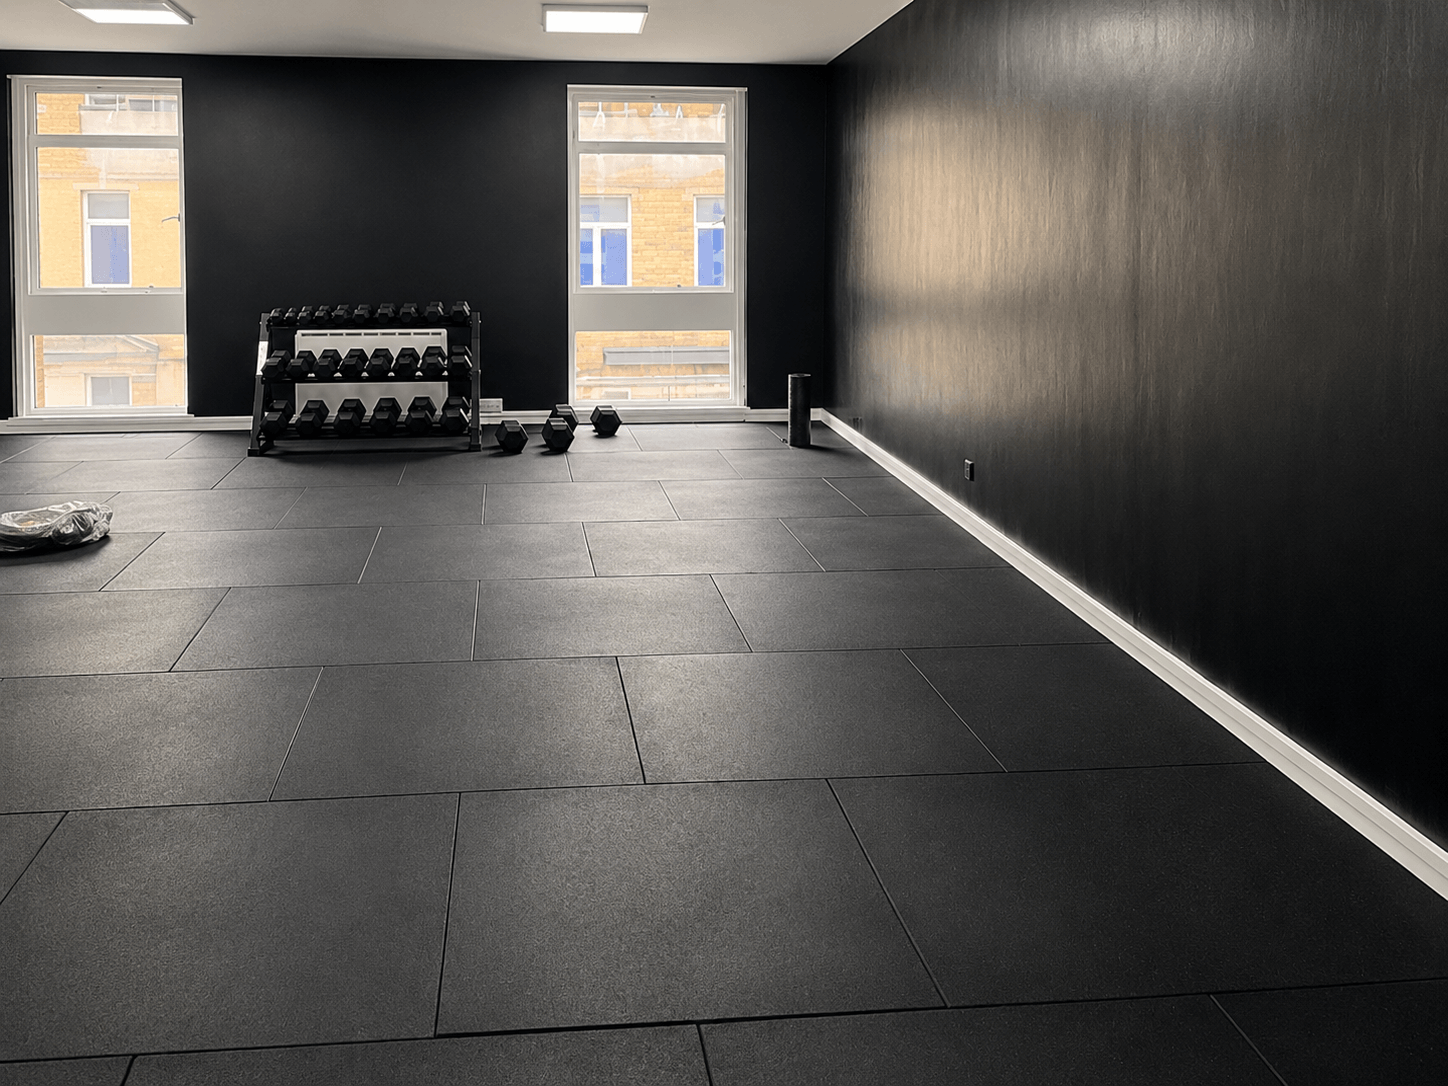
Not Sure Which Installation Method to Use?
Share your flooring type, substrate conditions and project requirements with our team. We’ll be happy to help you evaluate the options and recommend an installation approach that suits your project.
From Layout Planning to Finished Rubber Flooring
Rubber tile and mat installation follows a clear sequence from subfloor preparation and layout planning to cutting, fixing, edge finishing and final inspection. Each step helps ensure the flooring fits the space correctly, remains stable in use and achieves a clean, consistent finish.
01
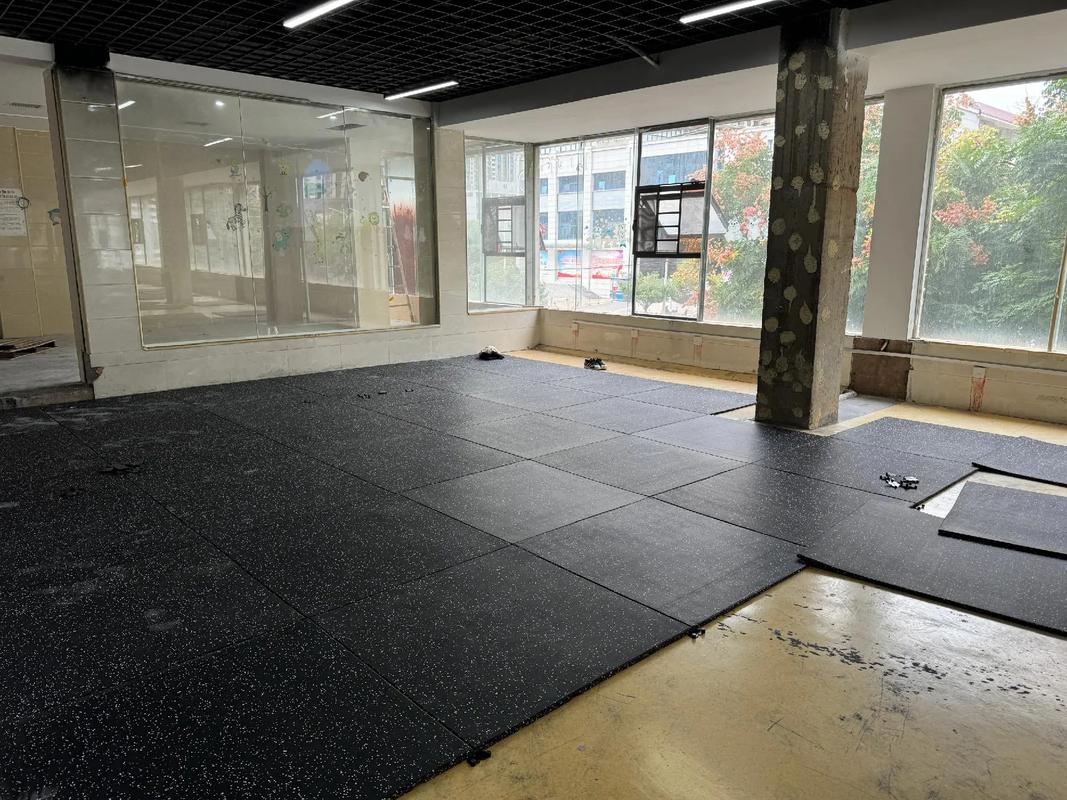
Wall-to-Wall Installation
Rubber flooring extends across the full room, with perimeter edges finished neatly against walls, skirting or other fixed boundaries.
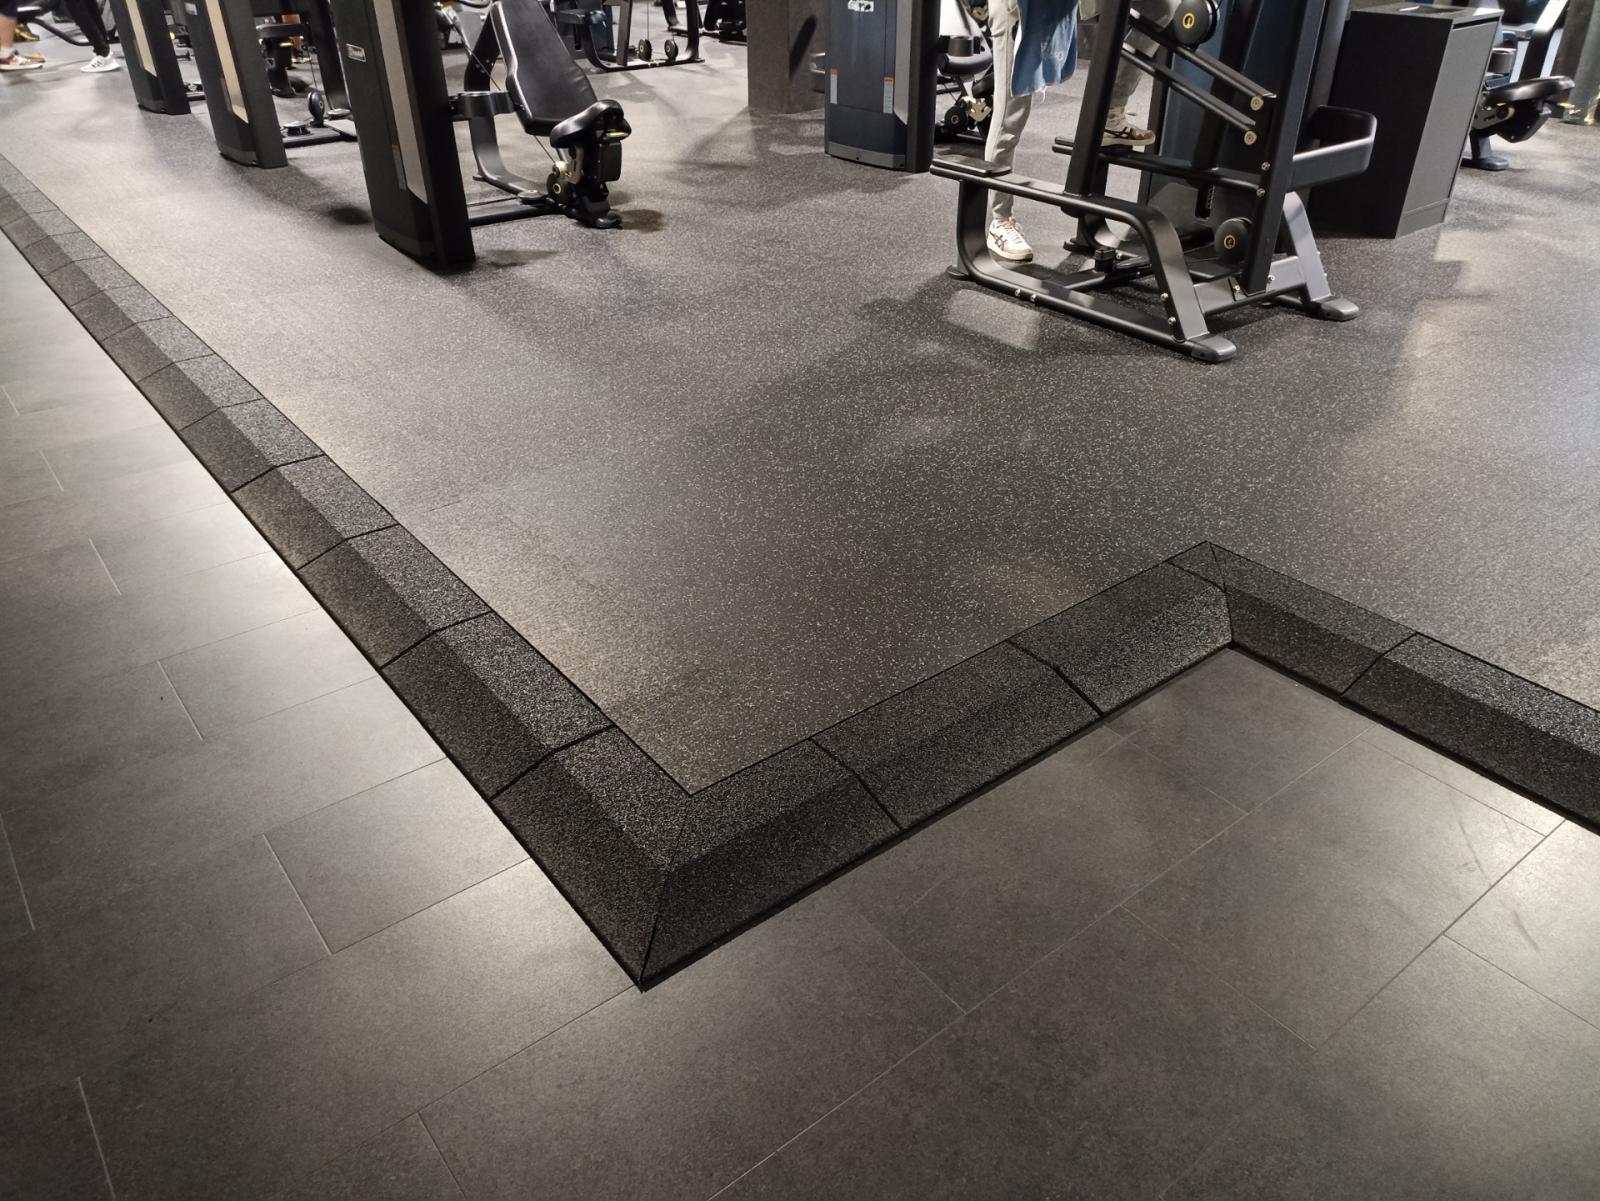
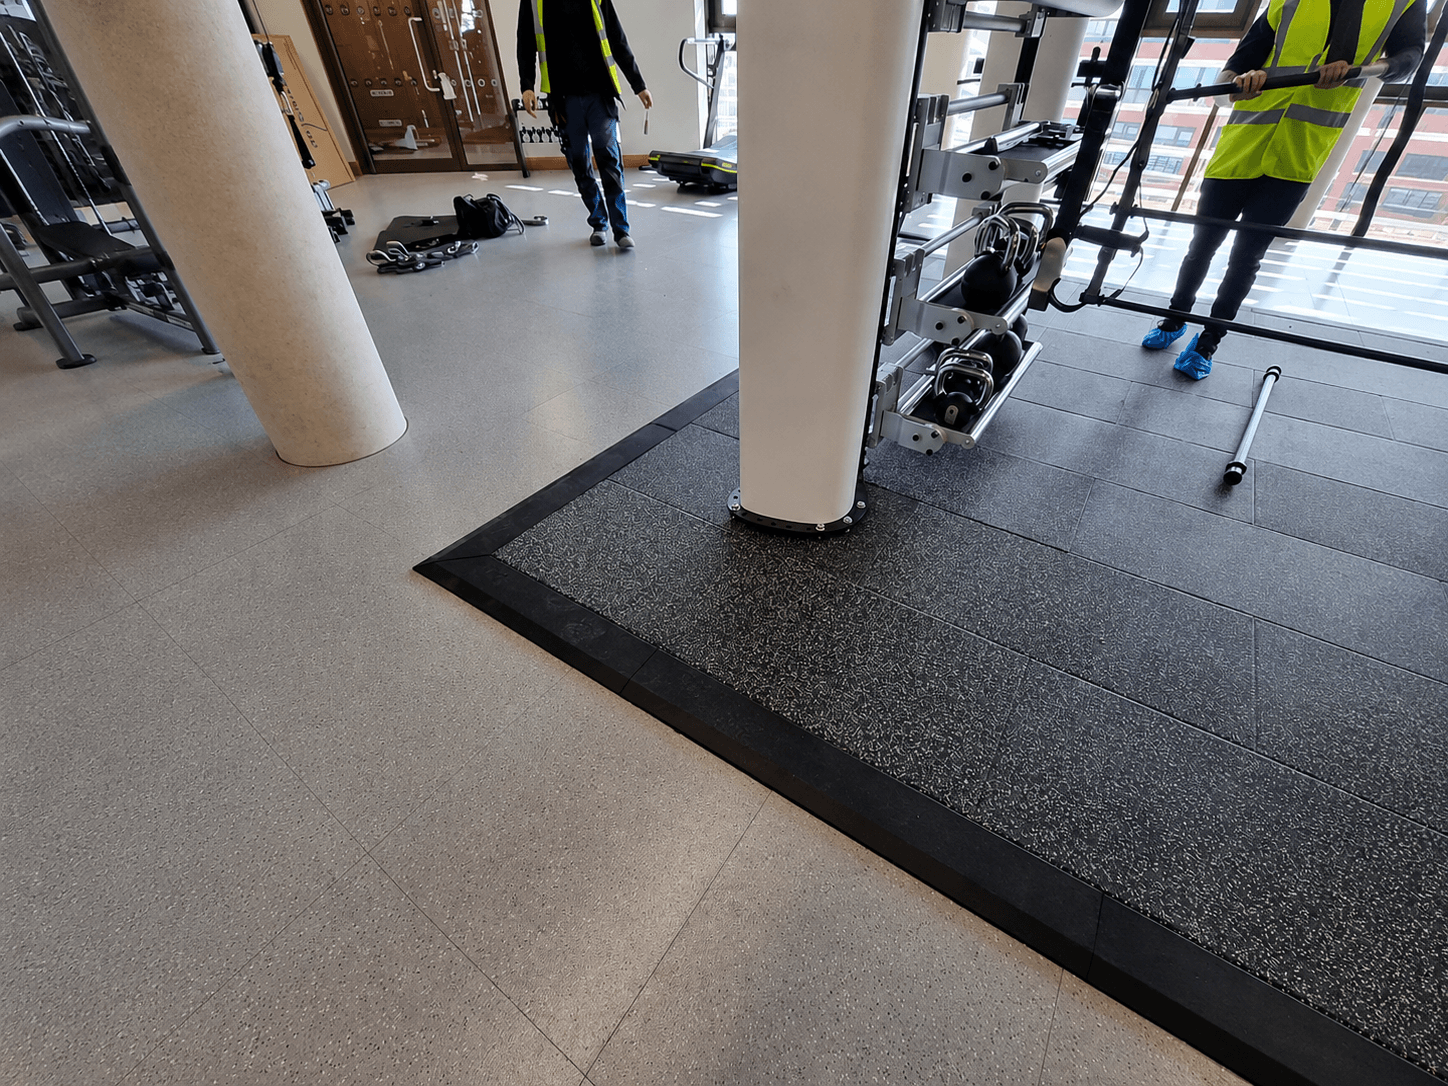
02
Localized Flooring
Rubber tiles can be installed only in selected areas such as free-weight zones, equipment areas or training stations.
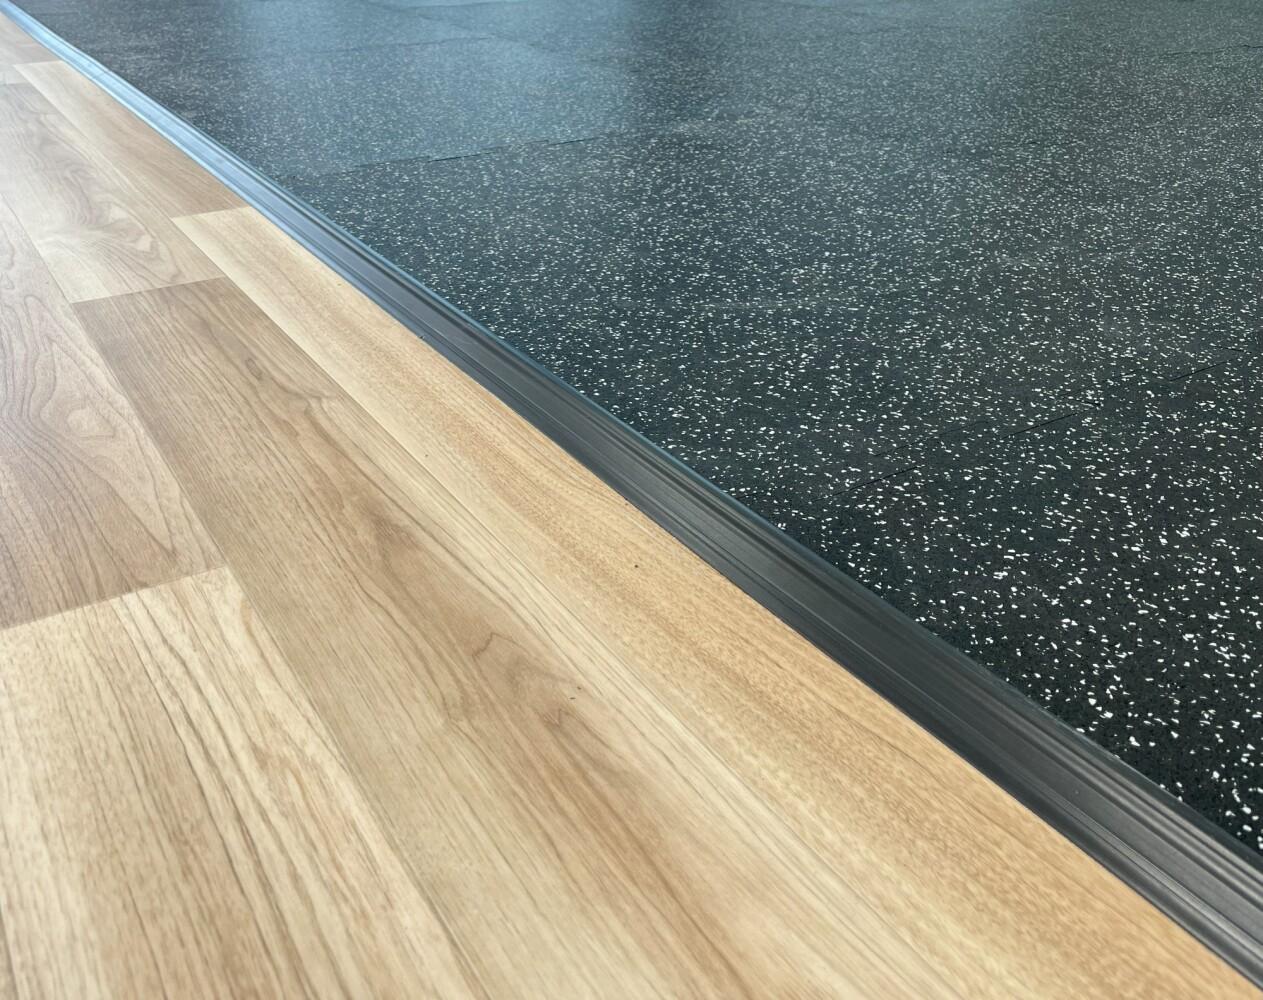
03
Transition to Existing Flooring
Where rubber flooring meets tile, PVC, concrete or other surfaces, transition details help create a clean connection and manage differences in floor height.
04
Corners
Internal and external corners can be finished through accurate cutting, compatible edge pieces or suitable perimeter details.
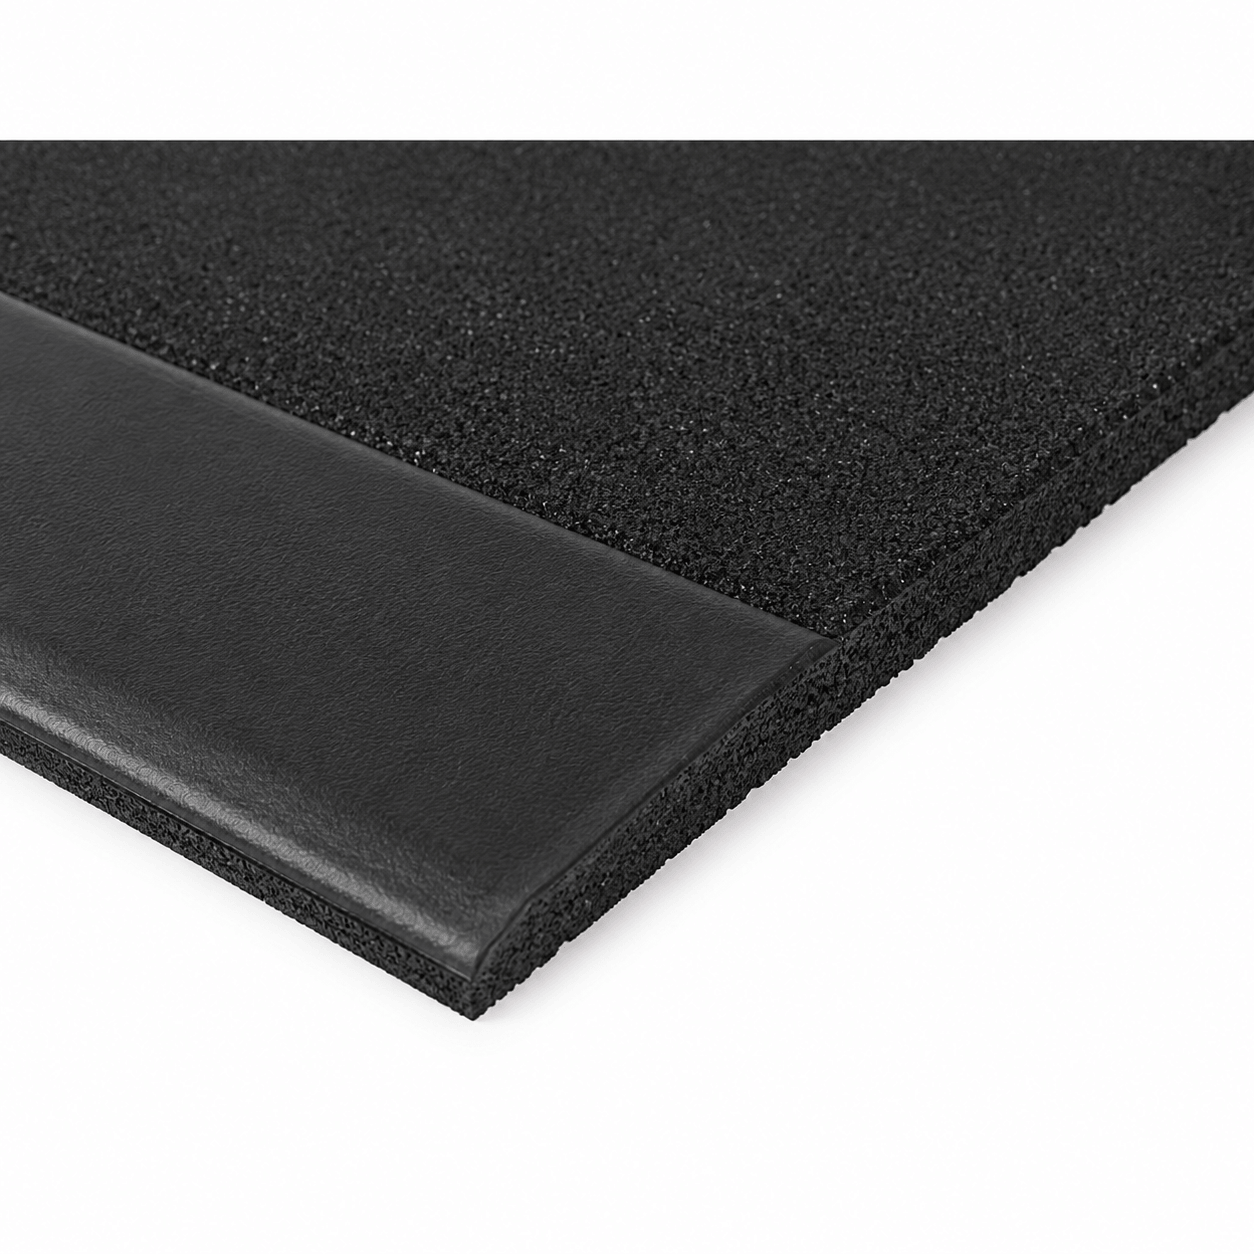
Edge & Transition Options
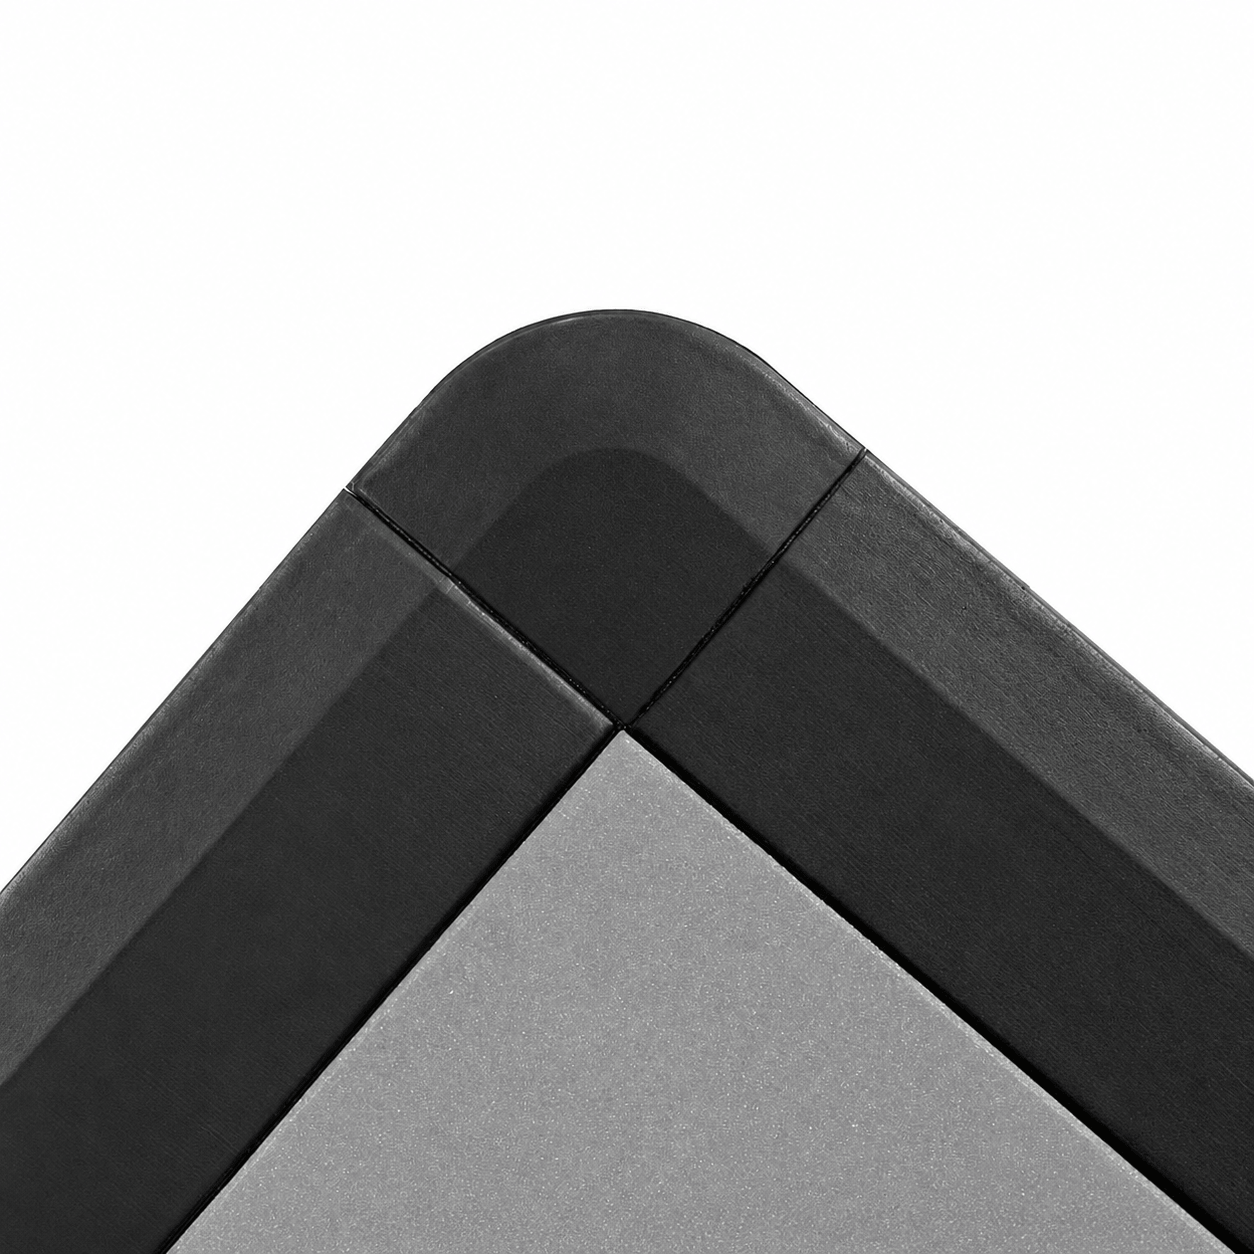
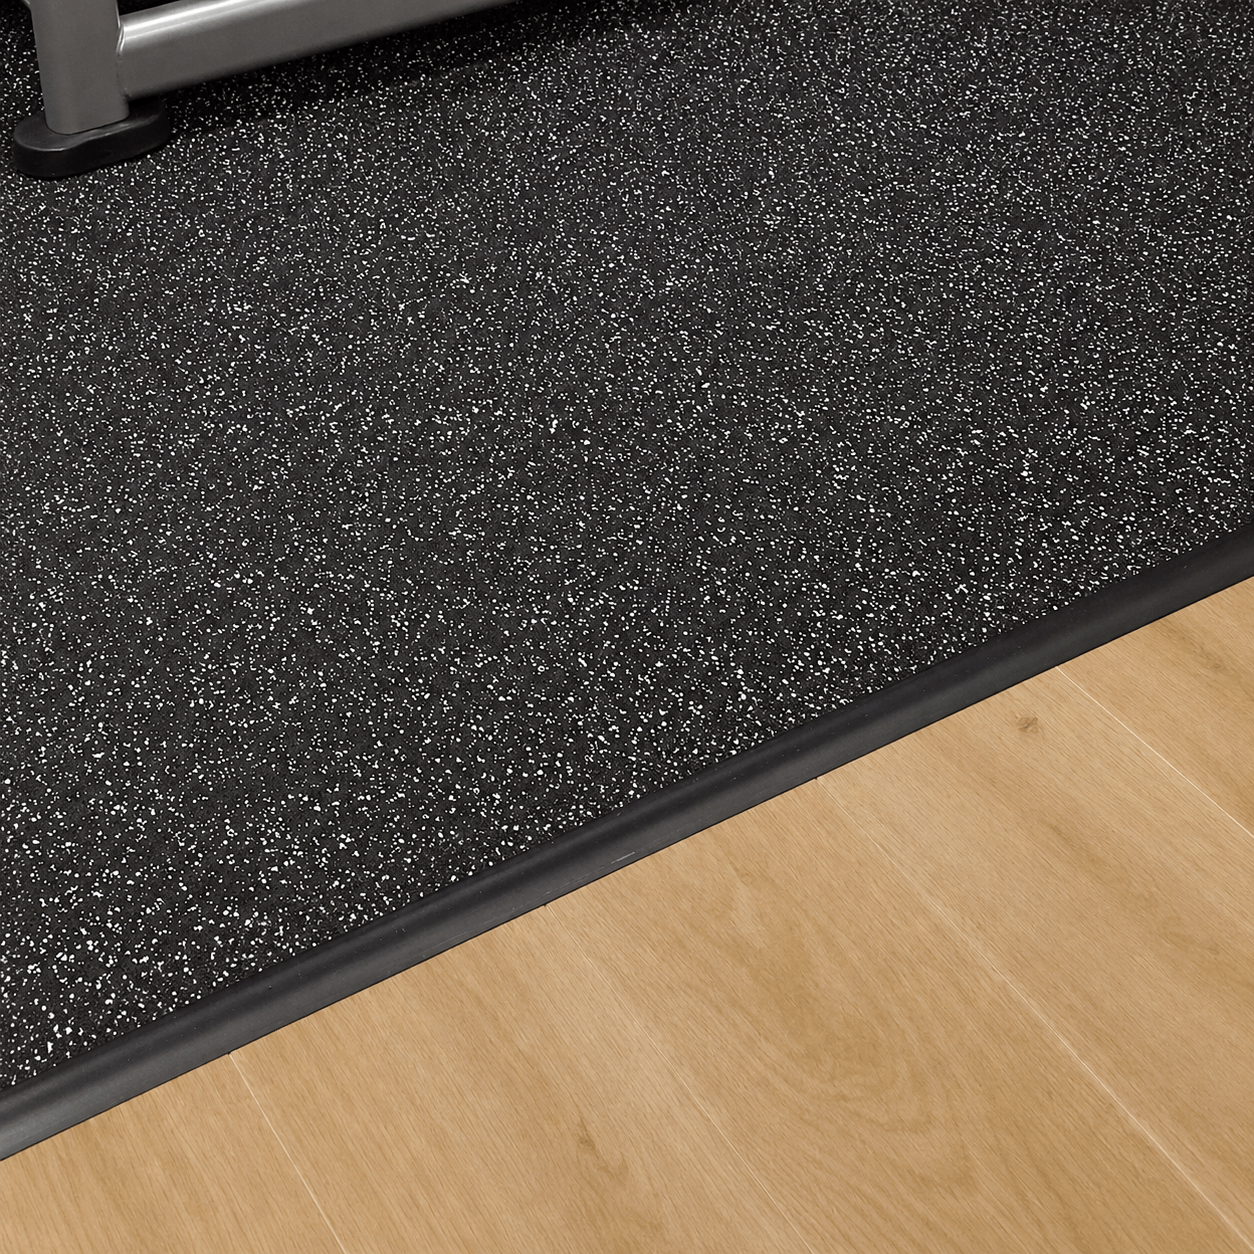
Rubber flooring layouts may include open edges, external corners or connections to existing floor surfaces. Rubflo supplies compatible edge ramps and transition profiles to help complete the installation, improve accessibility and create a consistent finished appearance.
A sloped edge piece used along open straight sides of localized rubber flooring areas to create a smoother transition to the surrounding floor.
Straight Edge Ramp
A matching corner piece used where ramped edges meet at external corners, helping complete the perimeter with a consistent finished detail.
Corner Ramp
A finishing profile used between rubber flooring and adjacent floor materials to manage the joint, accommodate minor height differences and create a cleaner transition.
Transition Profile
From Layout Planning to Finished Rubber Flooring
Rubber tile and mat installation follows a clear sequence from subfloor preparation and layout planning to cutting, fixing, edge finishing and final inspection. Each step helps ensure the flooring fits the space correctly, remains stable in use and achieves a clean, consistent finish.
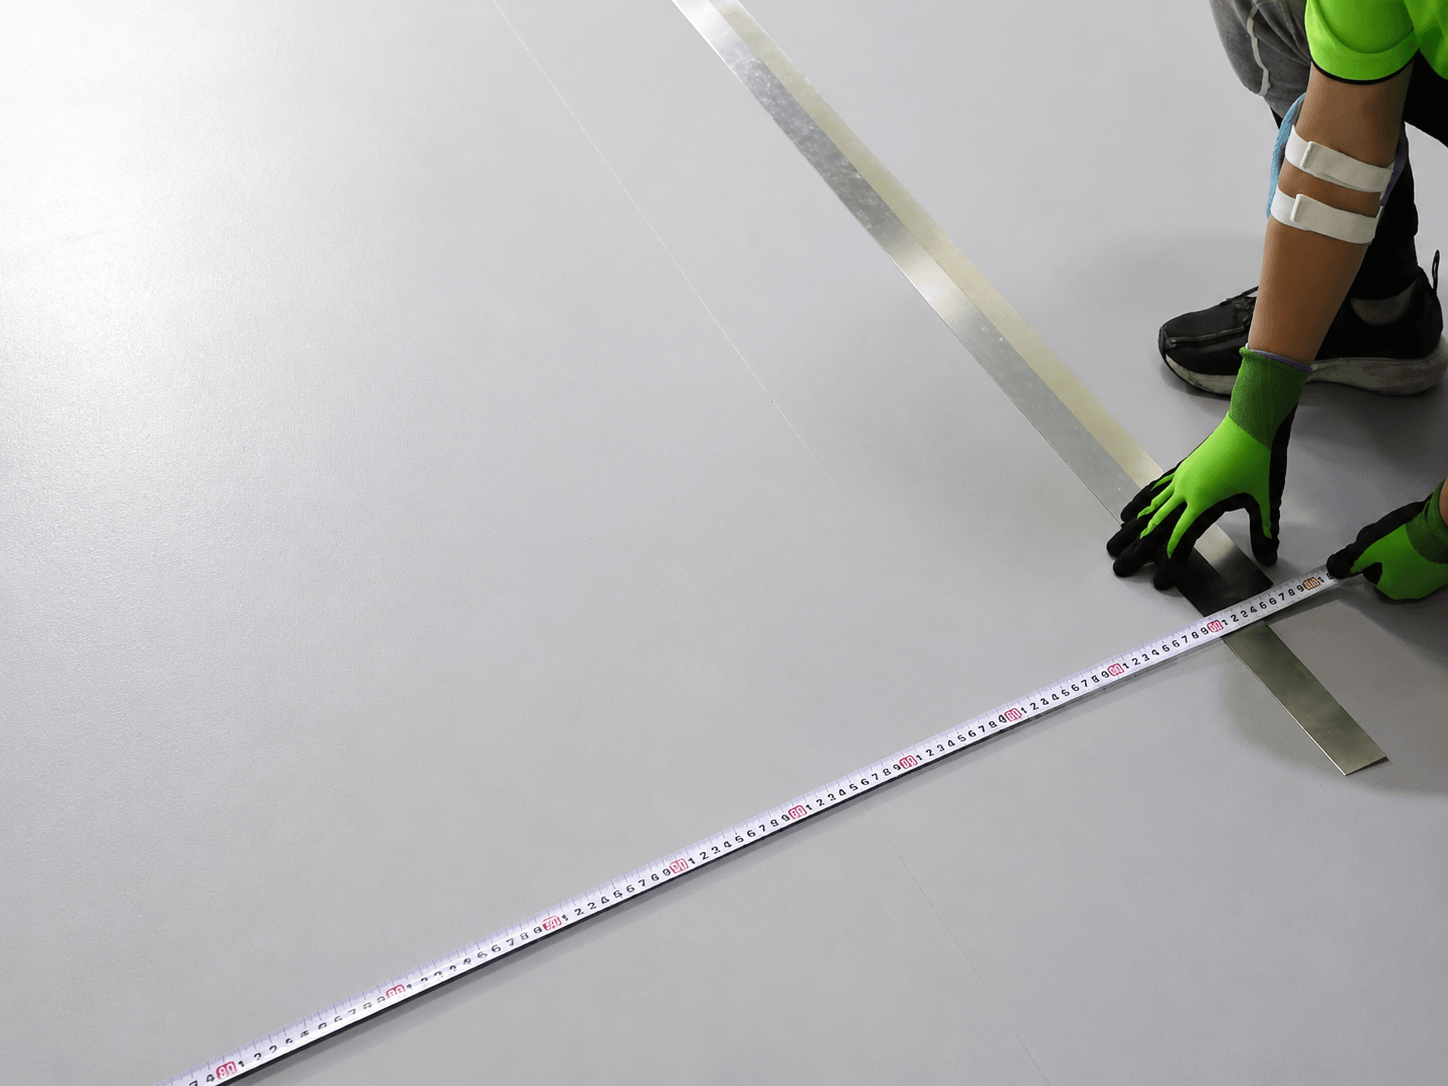
Check & Prepare the Subfloor
Check the subfloor for flatness, strength, moisture, cleanliness and any areas that need repair before installation.
Plan the Flooring Layout
Confirm the starting point, laying direction, equipment areas and seam arrangement before installation begins.
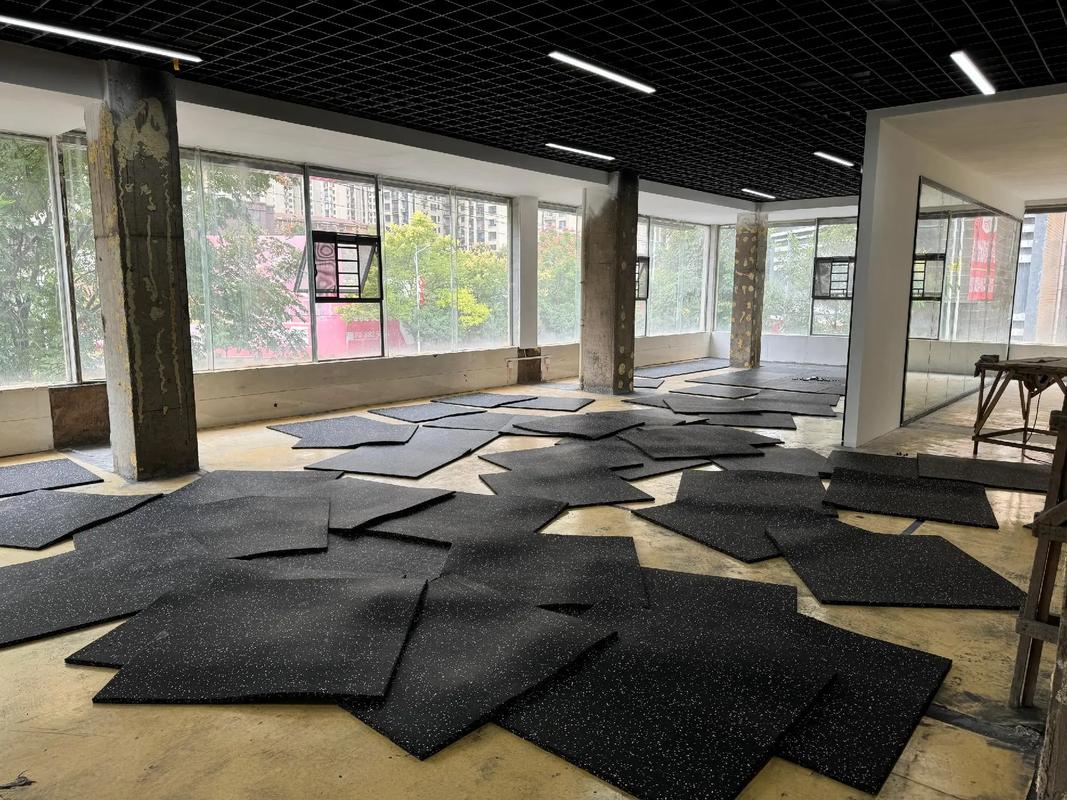
Set Out & Cut the Flooring
Dry-lay the flooring where required and cut pieces neatly around edges, corners and obstacle positions.
Install & Secure the Tiles
Install the tiles or mats using the selected connector, loose-lay or adhesive method according to project needs.
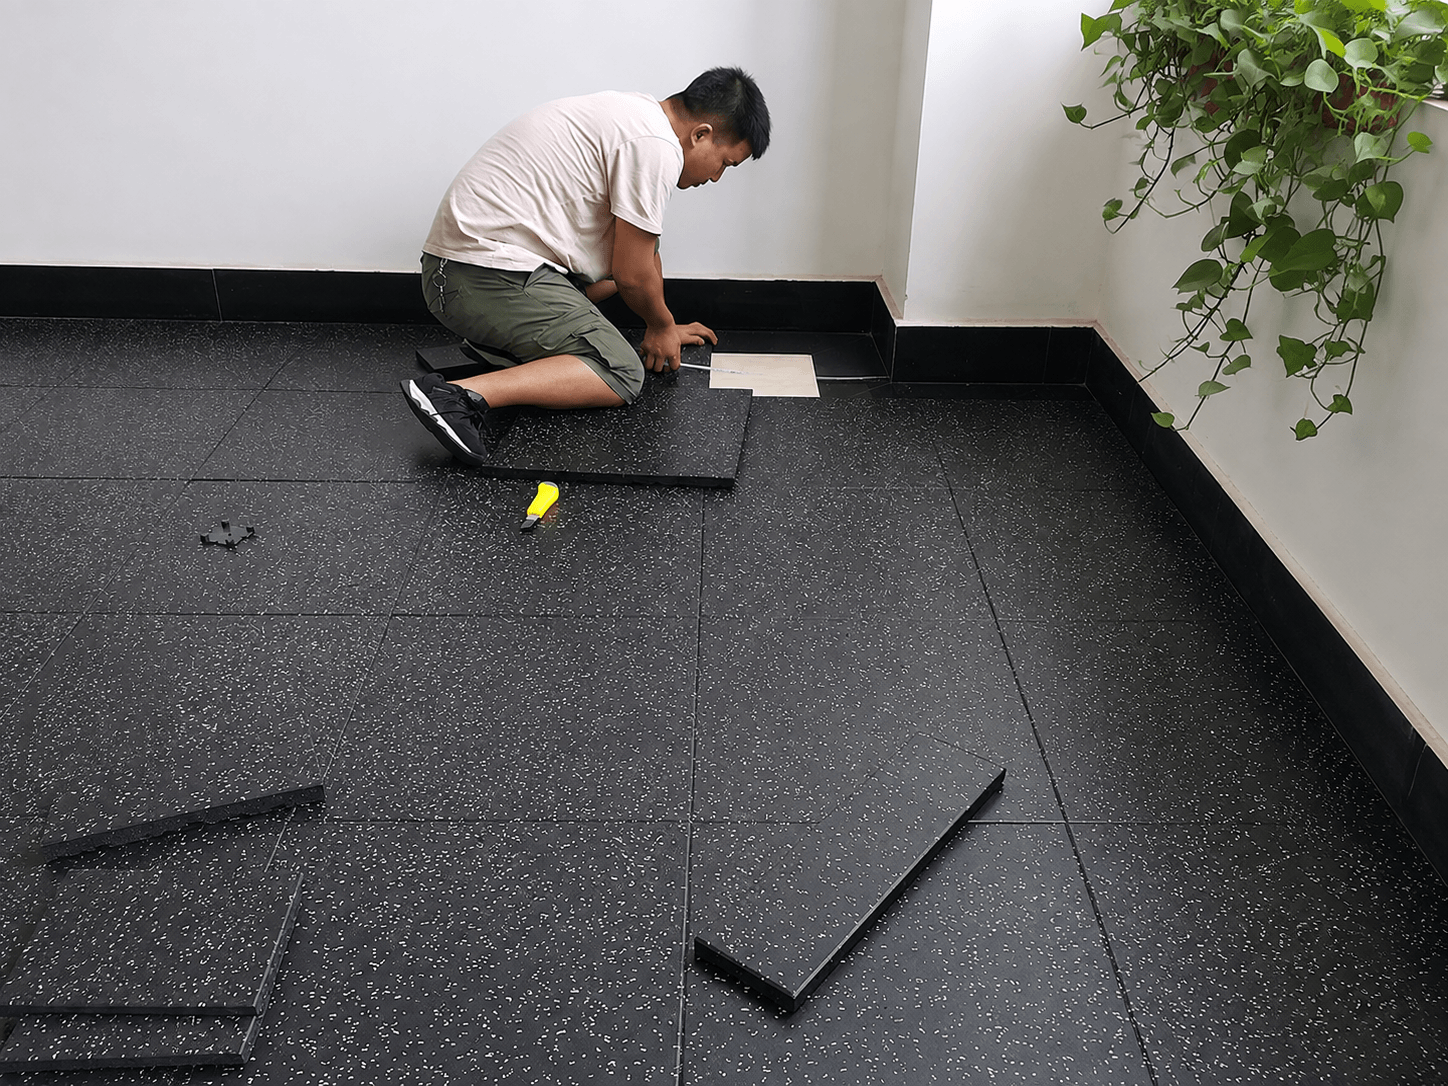
Finish Edges & Transitions
Complete perimeter edges, door thresholds and local transition details to create a neat and secure finish.
Inspect the Finished Floor
Inspect seams, flatness, edges and overall flooring stability to confirm that the installation is complete and ready for use.
Where Rubber Tile Flooring Systems Are Used
Rubber tile and mat systems can be adapted to different project environments, from gyms and playgrounds to walkways and recreational areas, with flooring formats selected around load, cushioning, maintenance and installation requirements.
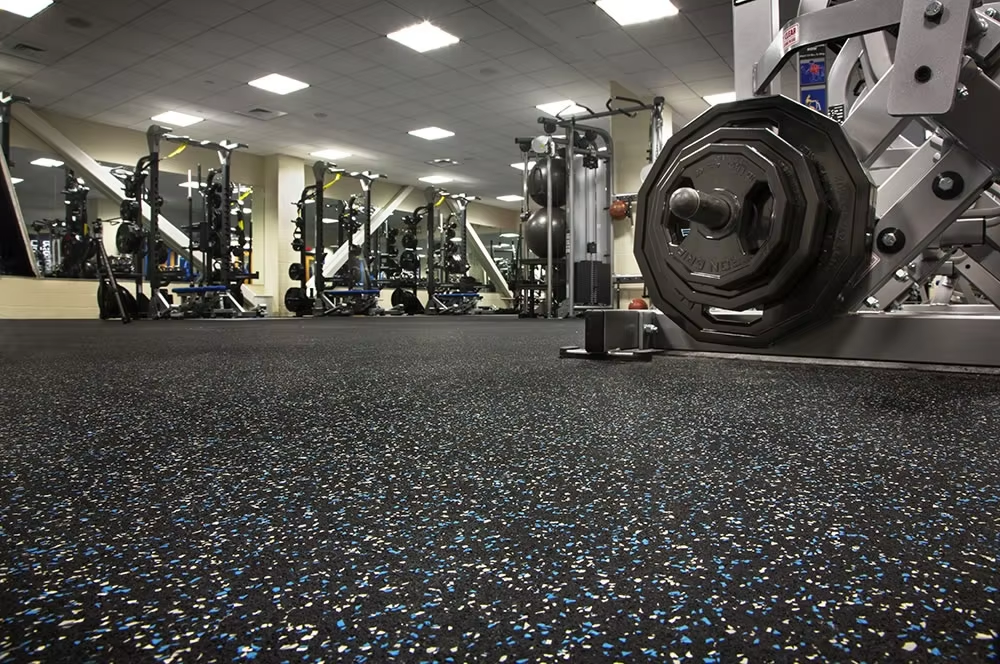
Gym & Fitness
Rubber tiles and mats provide a practical flooring option for gyms and fitness spaces where equipment loads, impact resistance and modular installation need to be considered together.
Explore Gym Flooring
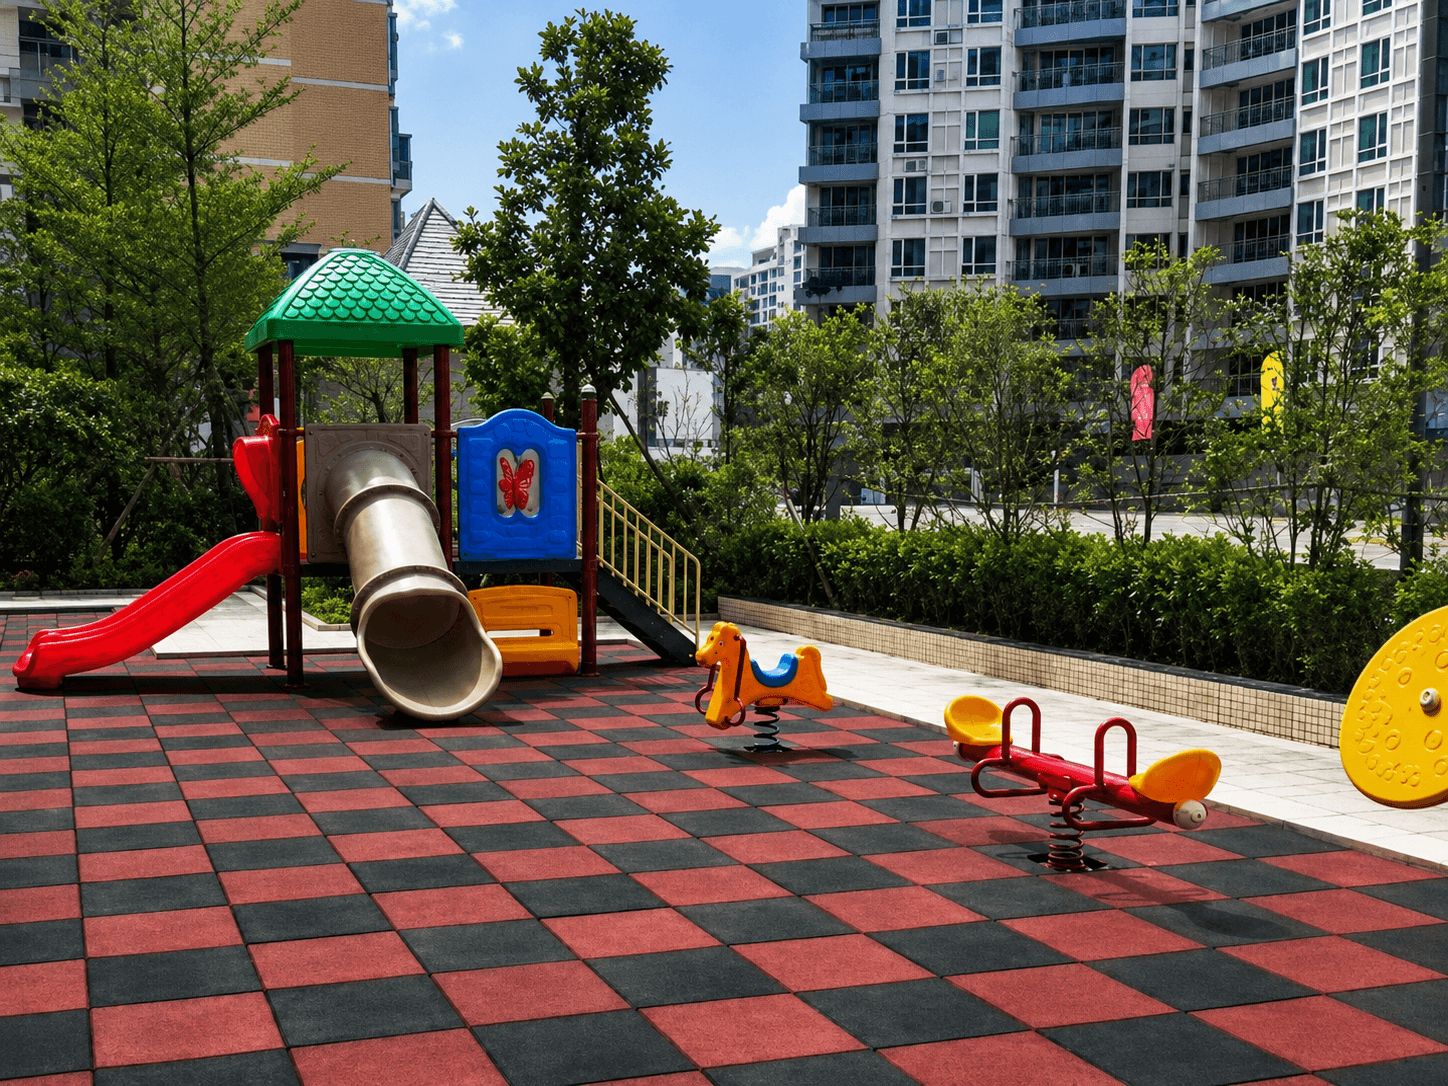
Playground & Safety Areas
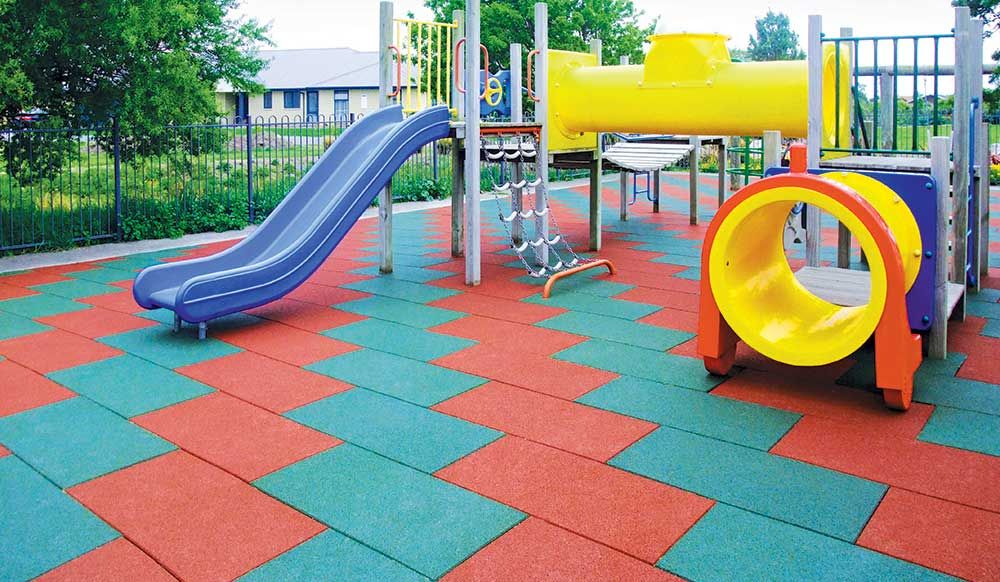
Modular rubber tiles can support cushioned playground and safety surfaces while allowing localized replacement and practical edge or transition solutions where required.
Explore Playground Flooring
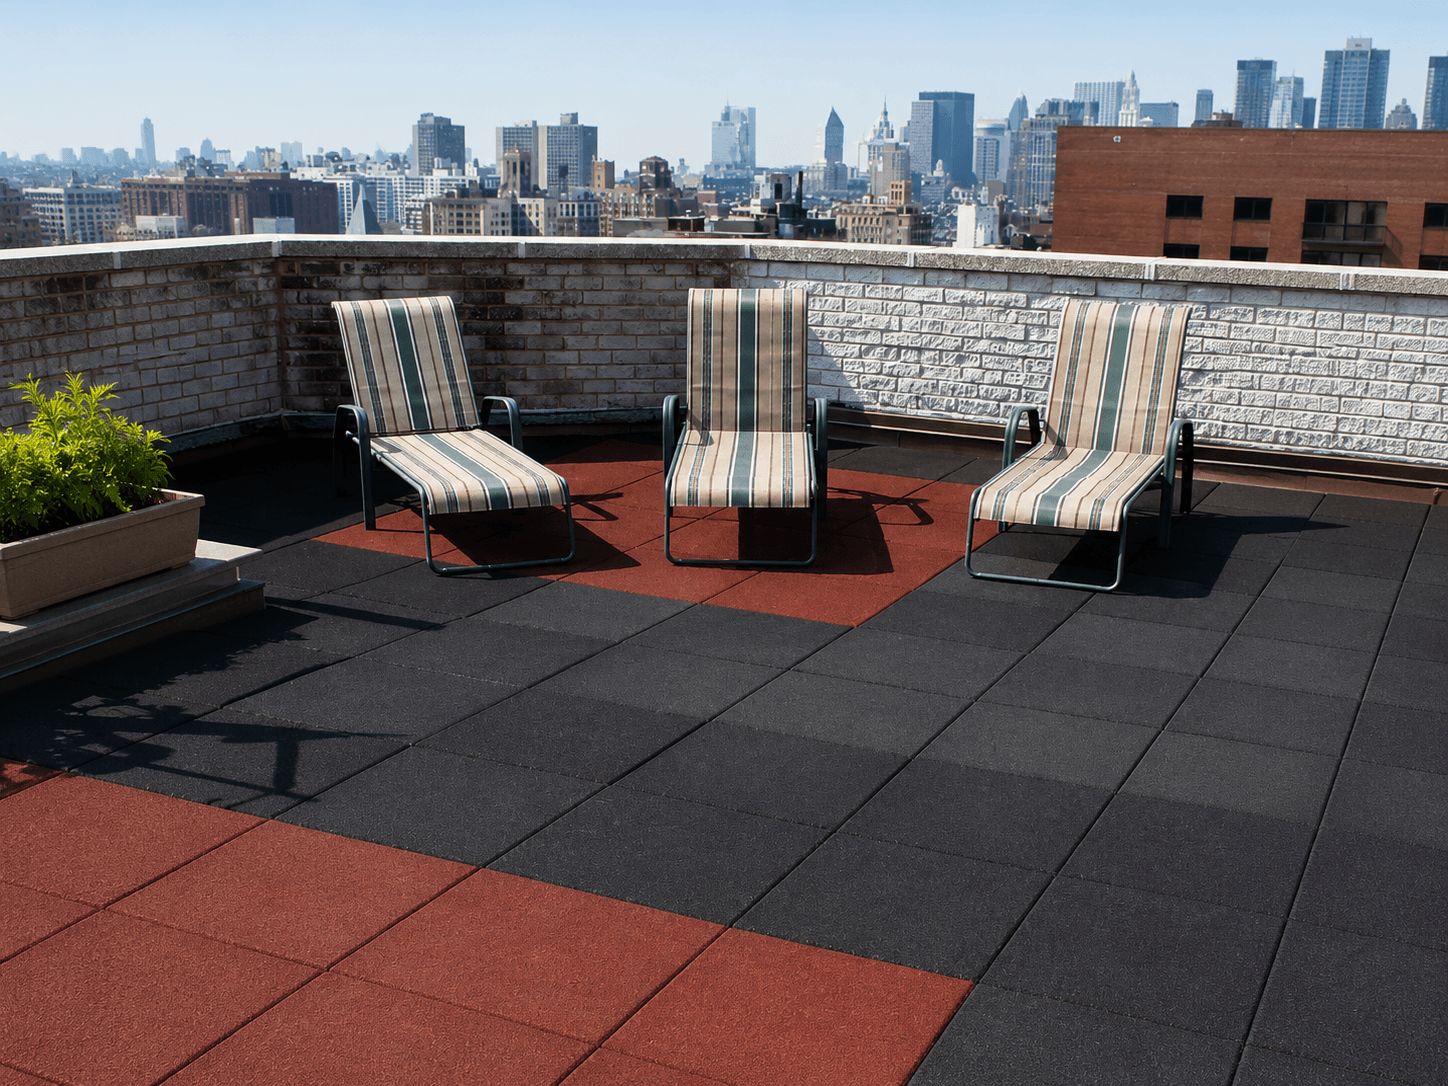
Walkways & Recreational Areas
Rubber tile systems can create durable and comfortable surfaces for walkways, terraces and recreational areas, while modular construction helps simplify maintenance and localized replacement.
How Rubflo Supports Your EPDM Flooring System
From system build-up and material quantity planning to layer thickness, color and layout coordination, technical documentation and delivery planning, Rubflo helps organize the key project details before installation begins, supporting a smoother and more efficient construction process.
Recommend suitable rubber flooring products, formats and thickness options based on application requirements, expected usage and project conditions.
Review substrate conditions and help determine the appropriate flooring structure, installation method and system build-up.
Provide guidance on suitable installation approaches, fixing methods and preparation requirements for different flooring formats.
Support project planning with layout suggestions, material quantity estimation, and edge or transition solutions for a complete finish.
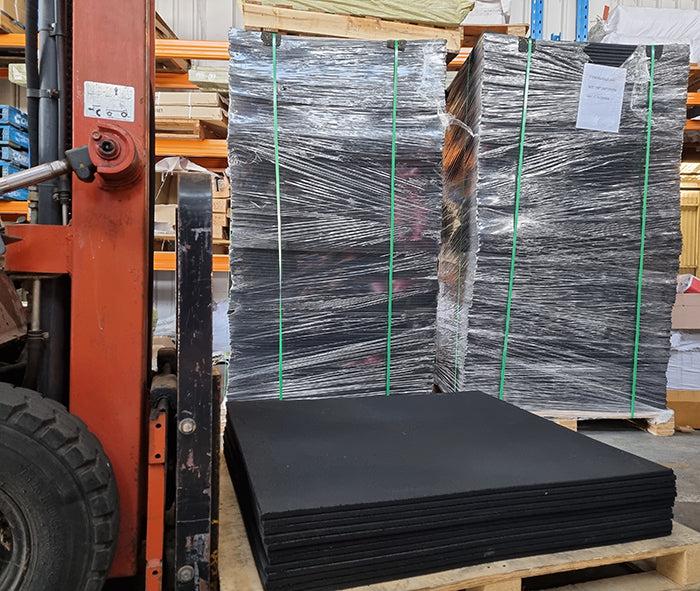
Assist with packaging solutions, shipment planning and delivery coordination to help ensure materials arrive ready for installation.
Reference Projects with Rubber Flooring Systems
Discover how Rubflo rubber flooring solutions are applied across different environments, including fitness facilities and playground spaces. Each project demonstrates the flexibility of rubber materials in creating functional, comfortable and visually coordinated surfaces.
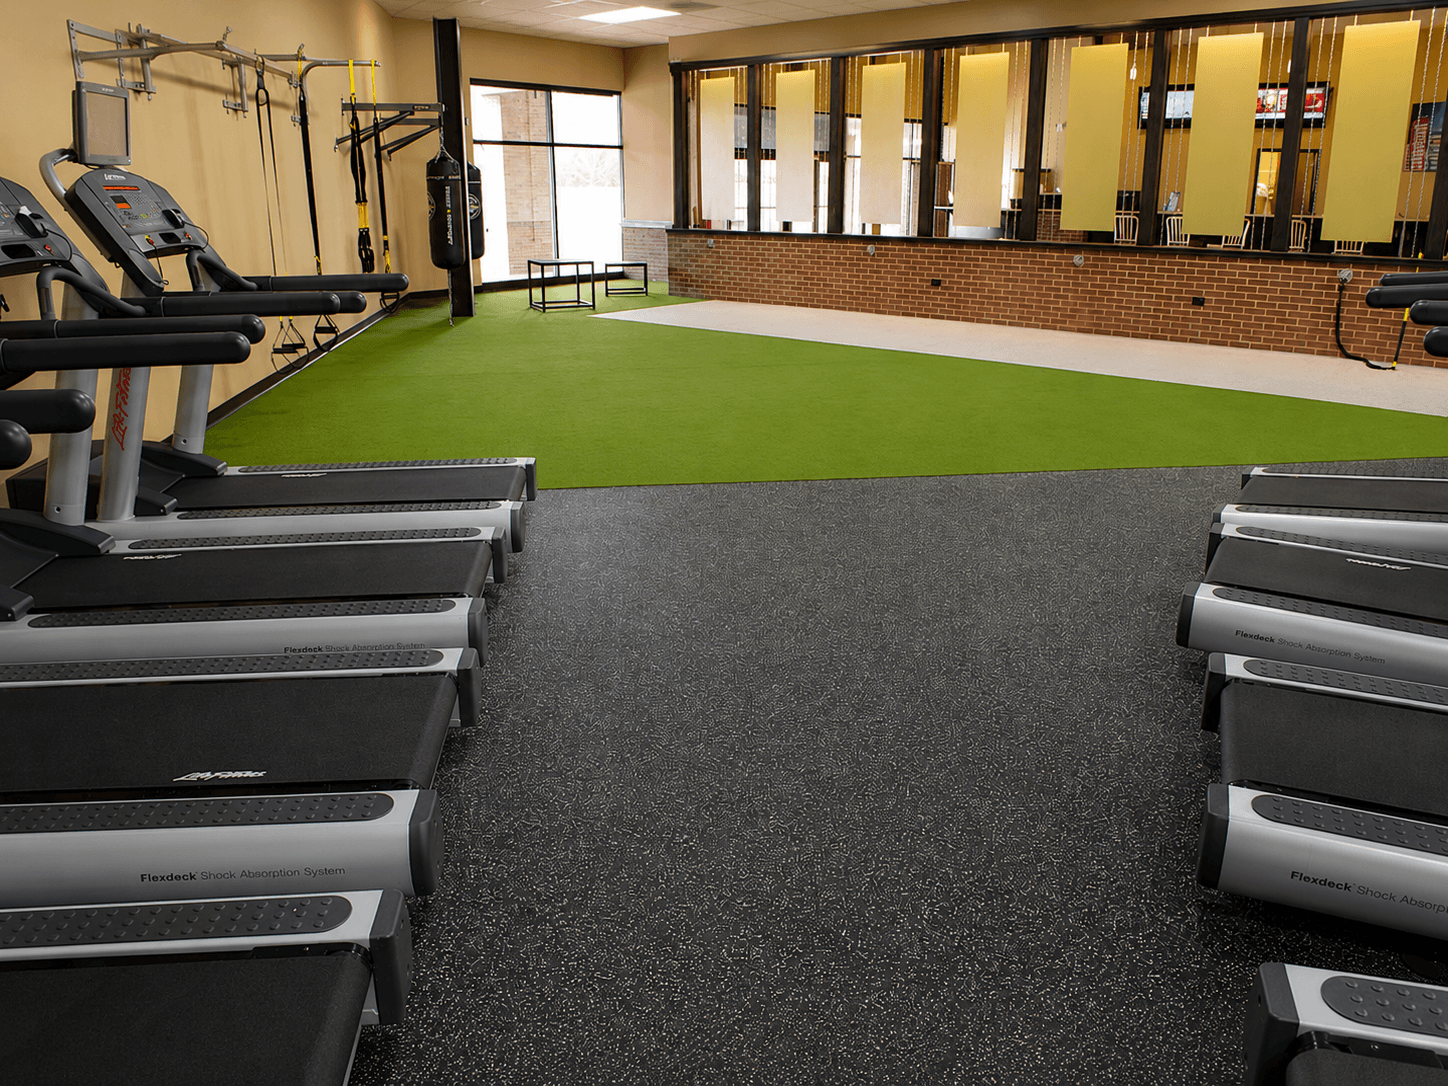
Rubflo provided rubber flooring solutions across multiple training areas at Urge Fitness, helping connect strength, cardio, functional and group exercise zones within one cohesive environment. The flooring system was planned around how each area is actually used.
Urge Fitness
New Zealand · Multi-Zone Gym Flooring
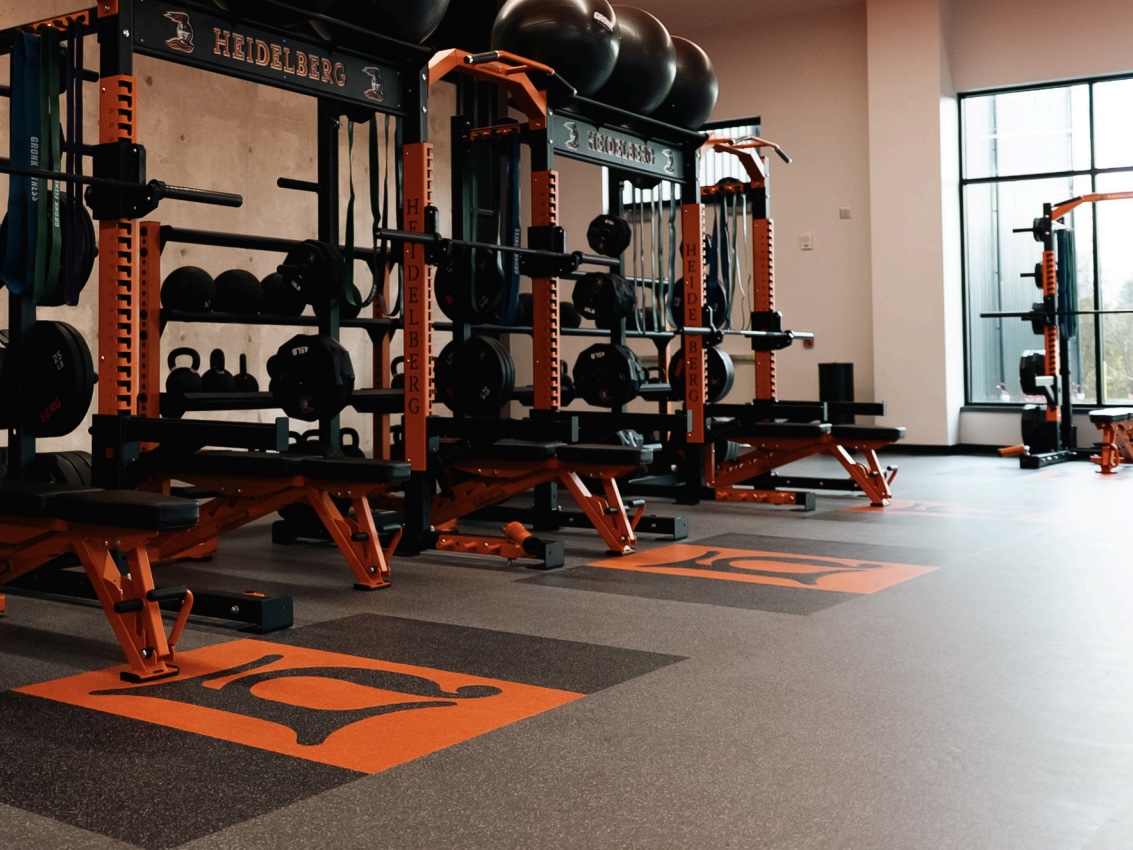
At Heidelberg University, custom color blocking and branded graphics were integrated into the gym flooring to help define training zones while reinforcing the university's visual identity throughout the facility.
Heidelberg University
Germany · Custom Branded Gym Flooring
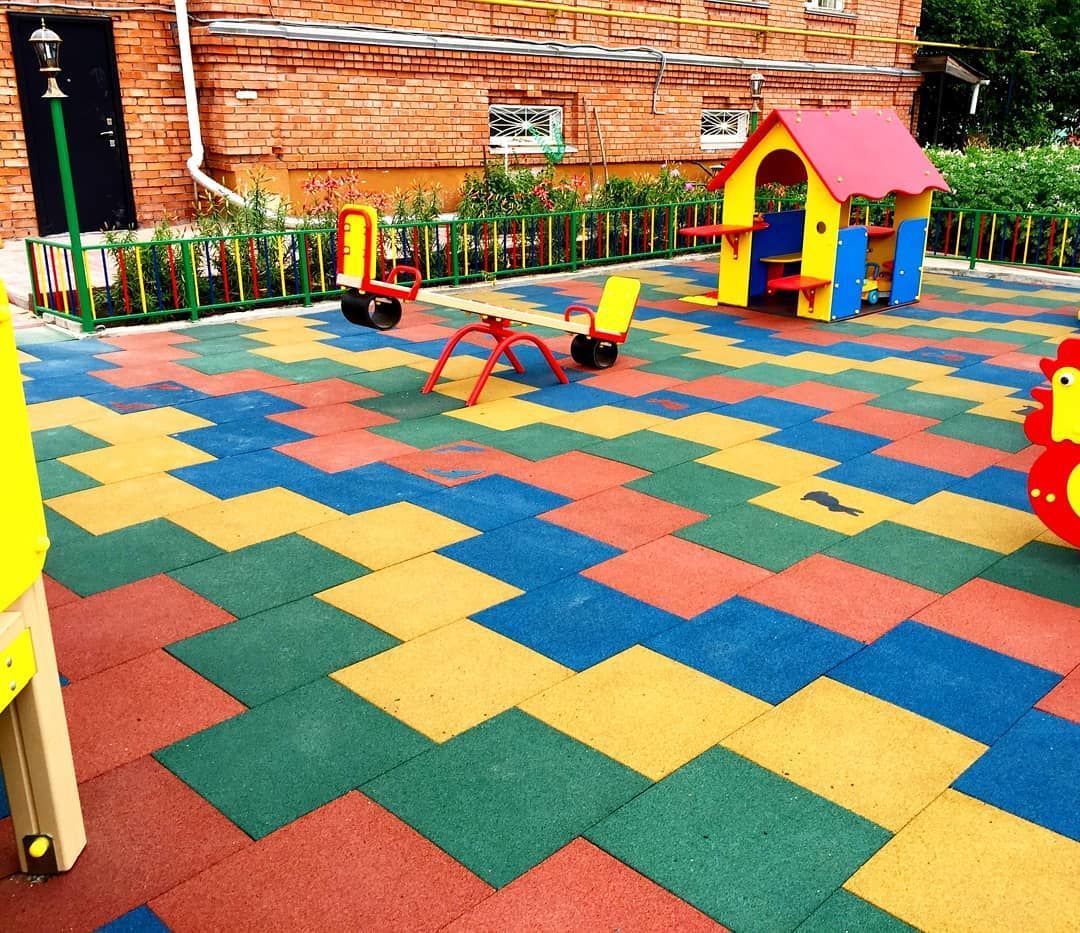
Impact-absorbing rubber mats were installed across the community playground at Banshan, providing a durable, low-maintenance play surface for daily outdoor use.
Banshan Community
Hangzhou, China · Playground Rubber Mat Surfacing · 2020
Rubber mat flooring was applied throughout the playground area at Hangzhou Children's Park, supporting safe, continuous play across the site.
Hangzhou Children's Park Playground
Hangzhou, China · Playground Rubber Mat Surfacing · 2022
Explore Related Surface Solutions
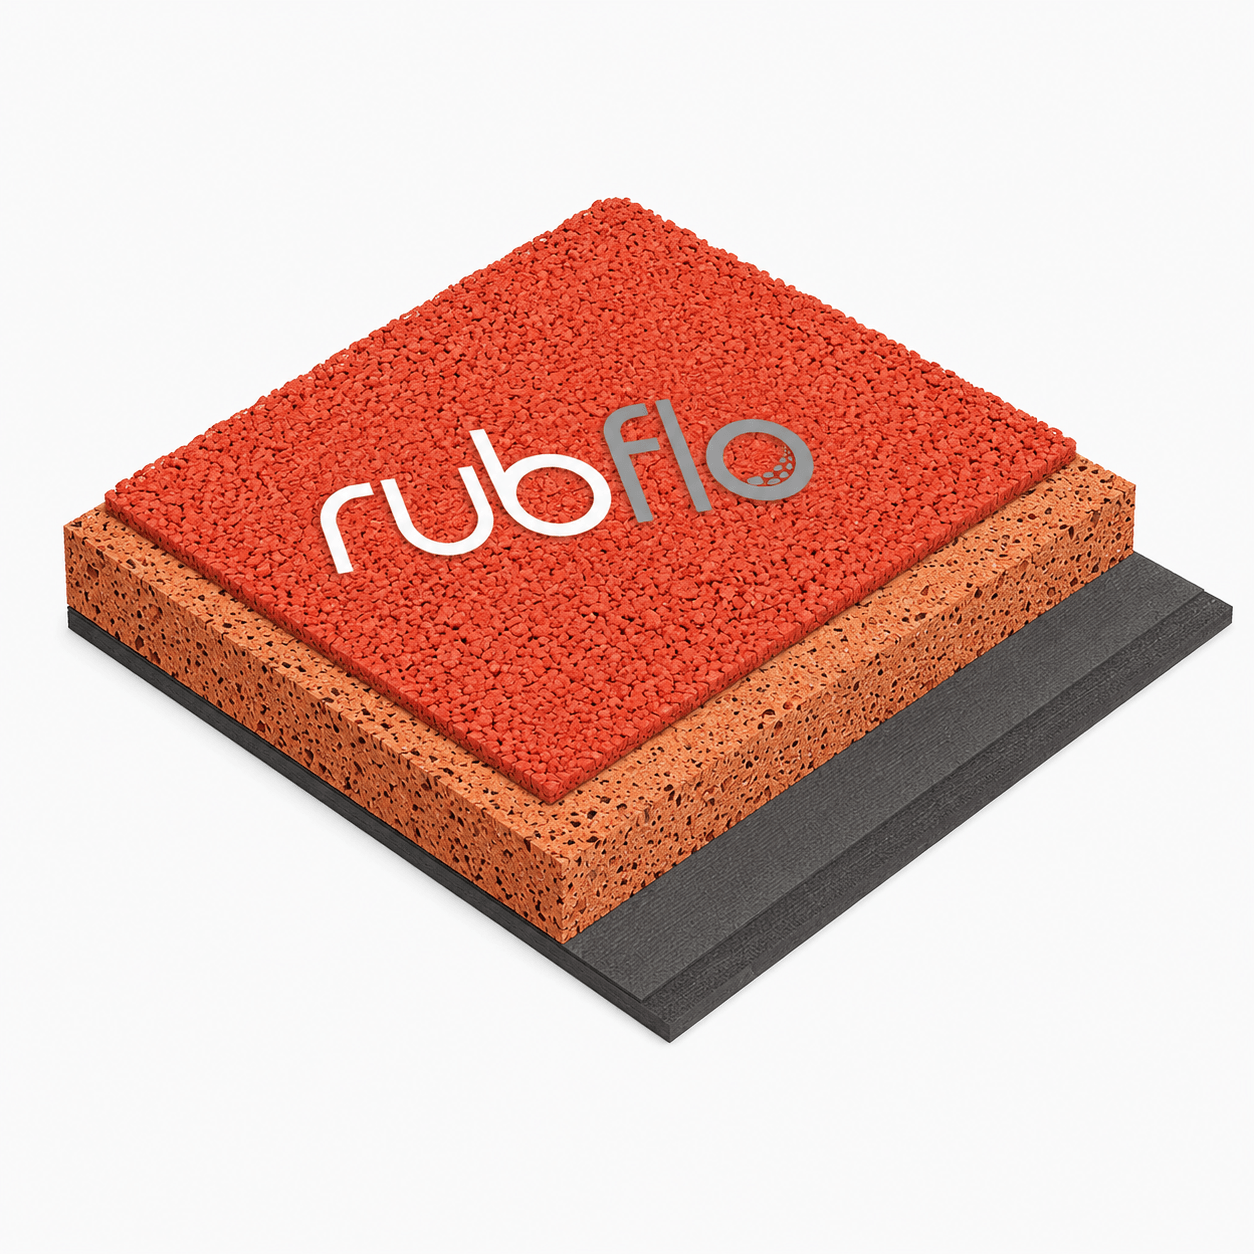
EPDM Flooring System
Seamless wet-pour rubber flooring systems using EPDM granules with suitable base or cushioning layers, with system thickness, drainage and material build-up selected around project requirements.
Explore EPDM Flooring System
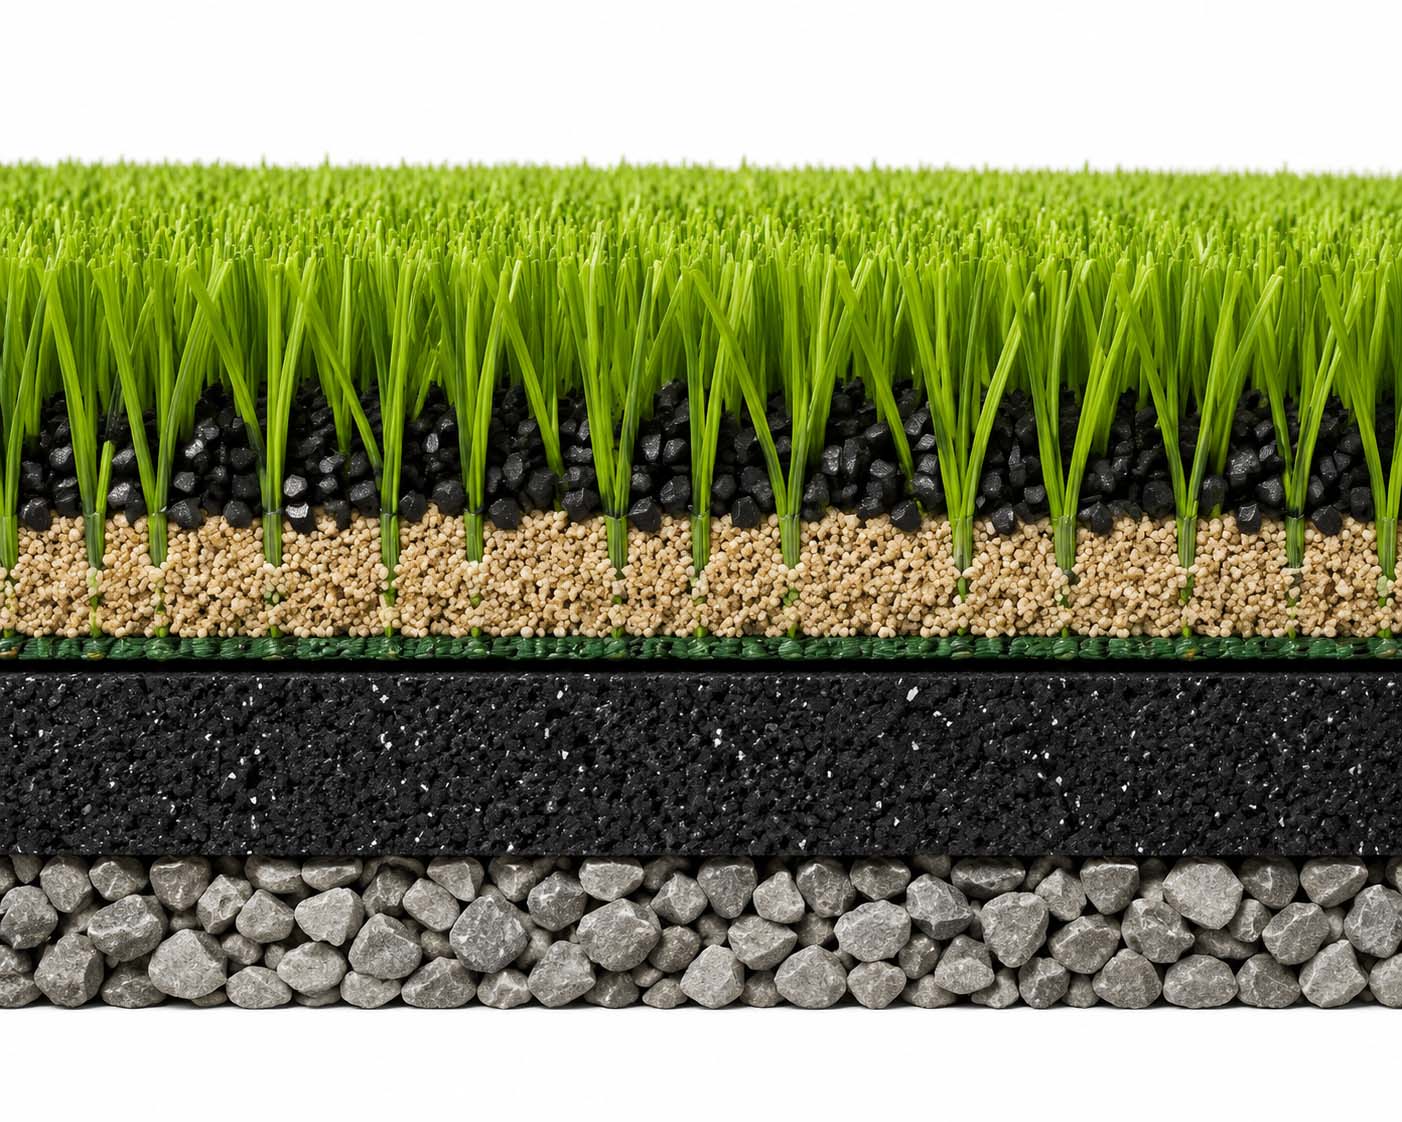
Artificial Turf Solution
Artificial turf systems for sports, recreation and landscape applications, with different turf structures and infill options to match performance and site requirements.
Explore Artificial TurfFrequently Asked Questions About Rubber Tile & Mat Solutions
Can rubber tiles be used outdoors?
Some rubber tile and mat products can be used for outdoor applications. Outdoor installations should consider factors such as UV exposure, drainage, temperature changes, moisture and expected usage intensity. Rubflo can recommend suitable rubber flooring solutions based on the specific requirements of each project.
Can individual rubber tiles be replaced?
Yes. One of the advantages of modular rubber tile flooring is the ability to replace individual tiles when necessary. The replacement process depends on the installation method. Interlocking or connector-based systems generally allow easier tile replacement, while fully bonded installations may require more careful removal and repair procedures.
How do you finish exposed rubber tile edges?
Exposed rubber tile edges can be finished with compatible edge ramps or transition components to create a smoother connection between the rubber flooring and surrounding surfaces.
What subfloor is required for rubber tile flooring?
Rubber tile flooring requires a stable, level and suitable subfloor to achieve reliable long-term performance. Before installation, the substrate should be checked for flatness, strength, moisture condition, cleanliness and any cracks or damaged areas. Common substrates include concrete, existing hard floors and other properly prepared surfaces.
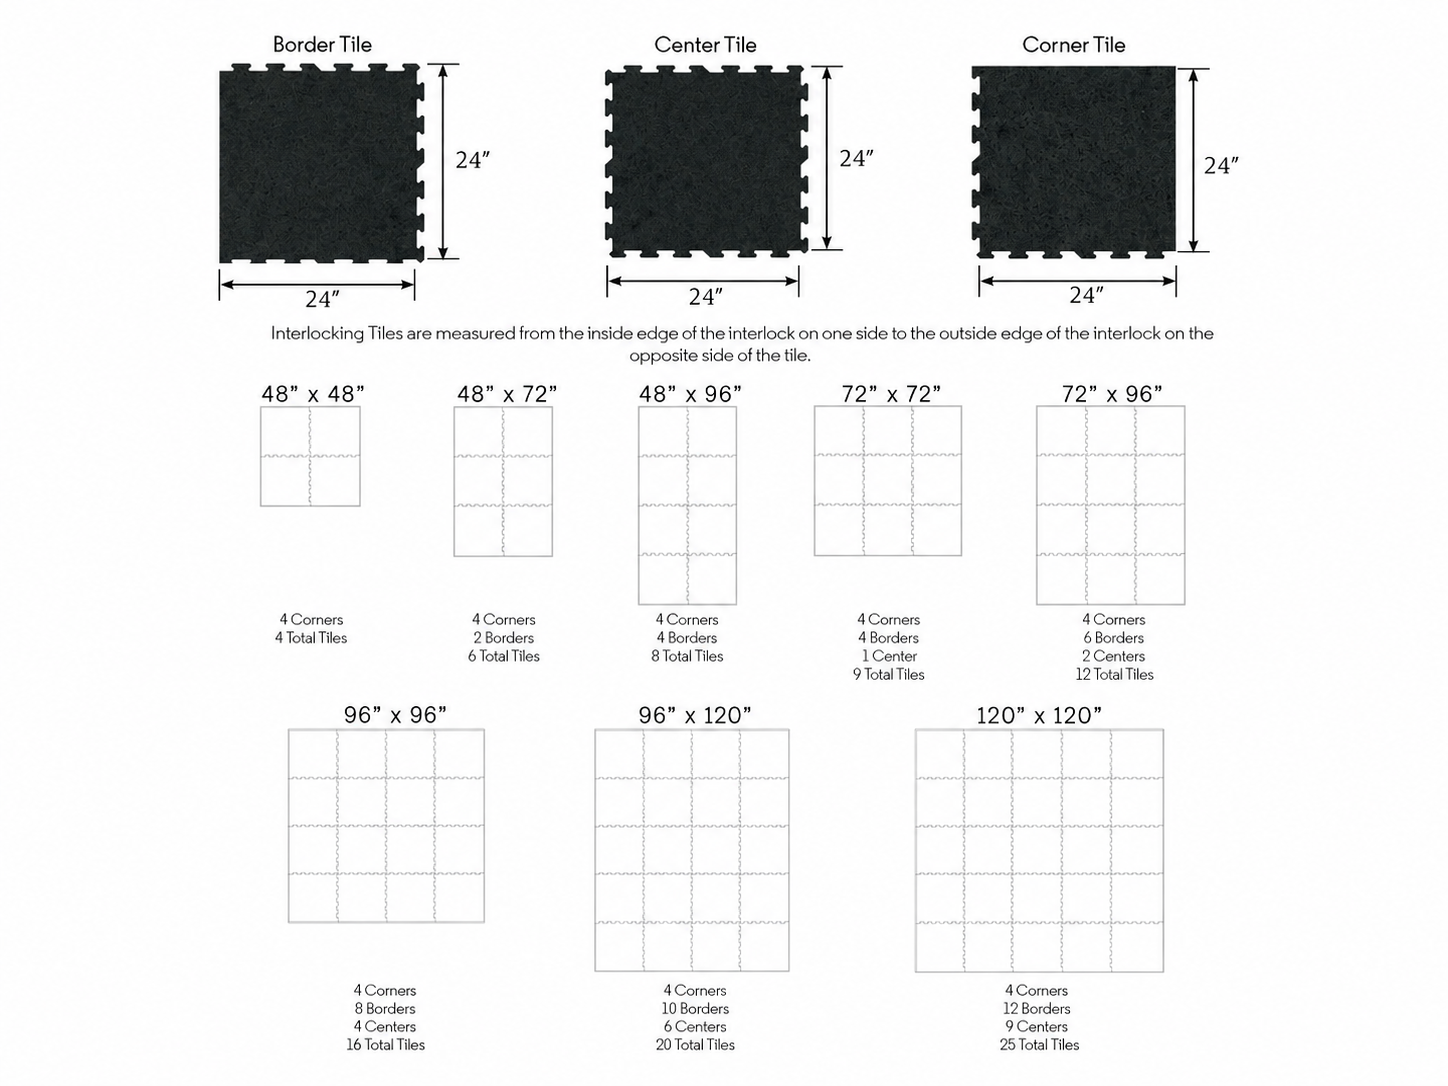
How do I calculate how many rubber tiles I need?
The required quantity depends on the total installation area, tile dimensions, room layout, cutting requirements and additional allowance for waste.
A basic calculation is: Required quantity = Total flooring area ÷ Coverage area per tile
For projects with irregular layouts, multiple zones or complex equipment arrangements, Rubflo can assist with material quantity planning and layout recommendations.
Contact Us
Share your application, material requirements, and project details with Rubflo. We’ll help you identify suitable materials and system options.